How to Bake The Iconic British Bloomer

When I was a kid growing up the bloomer took pride and place on the high street bakery shelves.
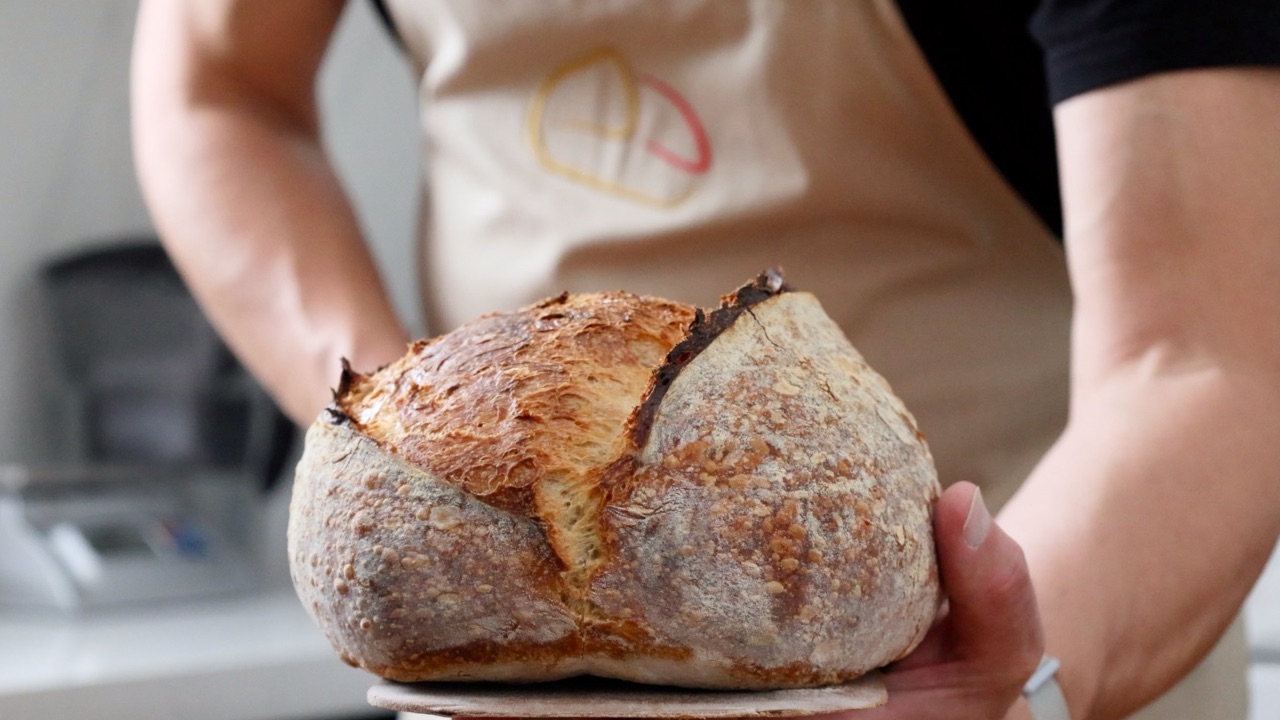
I have great memories of cutting open that crusty loaf and spreading it with butter. First you get hit with the flavour and texture of that crackly crust, followed by the soft white crumb.
This is one of the best loaves to make sandwiches with and it toasts to absolute perfection, so don’t be shy to break out the toasted sarnies.
Some seem to think the loaf started life being called a “London Bloomer”, that’s not something I’d heard of until recently, but there could be some truth in it. I know it as the “British Bloomer” that possibly got its name by the way the loaf blooms during baking.
How to shape the Bloomer correctly & easily
First you need to get the hydration correct. After the dough has been shaped it is proofed unsupported, it doesn’t have the confines of a basket or a tin to support it. If the dough is too wet then it will collapse during the final proof.
Use a "poolish" or a "pre-ferment"
Secondly I would use a pre-fermentation called a poolish to make this loaf. It takes five minutes to make and just a little planning. The flavour and texture that the poolish delivers makes it well worth doing.
I will link to my YouTube video below where you’ll be able to watch the step by step of the recipe.
Times & temperatures
My kitchen temperature: 18c / 65f
Oven temperature: Will depend on the baking method you choose, see recipe method for more information
Oven setting: Bake mode (top & bottom heat with fan turned off)
Bake time: Will depend on the baking method you choose, see recipe method for more information
Recipe & Method
The Poolish
290g Strong white bread flour
290g Water
1.5g Dried yeast
1. I normally prepare the poolish 12 hours before I make the main dough, which in most cases is the night before.
2. Mix the ingredients together loosely. The mixture doesn’t need to be smooth as the long fermentation period will work its magic. Cover well and leave out at room temperature to ferment.
3. If your kitchen is super hot then you could slow this process down by putting the poolish in the fridge. If you do this I would suggest letting it begin the process at room temperature first.
The Main Dough
610g Strong white bread flour
580g Poolish
250g Water
18g Salt
3g Dried yeast
1. When you are ready to mix your dough you can add all of the ingredients for the main dough to the poolish. This is a 1.5 kilo mix so make sure you have a large enough bowl and container to proof the dough.
Note: Don’t stress if the poolish has only been fermenting for 10 hours, or has over shot a little, for example 15 hours. When you are ready to bake just make sure it looks the same as mine in the video.
2. Bring all of the ingredients together and mix until you have a rough dough. Cover the bowl and leave out at room temperature, covered for 20-30 minutes. This will give the flour time to hydrate making the dough easier to work with.
3. Knead the dough for 5-10 minutes until it feels smooth. I like to cover the dough for five minutes at this point and then check the consistency after the dough has relaxed.
4. Lightly rub a proofing container with vegetable oil. Shape the dough into a ball and place in the container. Cover and proof at room temperature.
5. When the proof is complete (mine took 2 hours and fifteen minutes) you can turn the dough out onto the work surface. You can use a little bench flour, but not too much as the dough isn’t sticky.
6. Shape into balls creating tension on the surface of the dough and leave covered for ten minutes to allow the dough time to relax.
7. Now you can shape the loaves into the bloomer shape by rolling into a long, tight sausage and sealing the end. I would suggest watching the video for the demonstration.
8. Spray the surface of the dough with water and sprinkle with poppy seeds.
9. As this is a tight dough I prefer to score it before the final proof. Using a sharp blade, gently score the dough being careful not to cut too deep. Cover the dough and leave for the final proof.
How to bake with a baking stone / steel and a cover
1. If using a baking stone / steel and a cover (large pot to cover) - pre-heat the oven to 250c / 480f for an hour.
2. Gently score the dough for a second time following the previous cuts. This will stop the dough bursting out in random places during the bake. Don’t cut too deep, just nick the skin of the dough.
3. Mist the inside of the cover with water.
4. Slide the dough on to the baking stone, place the cover over the top of the dough and bake for 15 minutes.
5. Remove the cover and reduce the temperature to 220c / 430f and bake for a remaining 15 minutes or so. The loaf is done when it reaches a golden colour on the crust.
Baking directly on an oven shelf
1. If you are baking on your oven shelf then pre-heat your oven to 220c / 430f with an empty baking tray placed on the bottom of the oven and position the shelf in the lower third of the oven.
2. Gently score the dough for a second time following the previous cuts. This will stop the dough bursting out in random places during the bake. Don’t cut too deep, just nick the skin of the dough.
3. Slide the dough onto the shelf and add about an espresso cup of water to the baking tray in the bottom of the oven. Shut the door quickly to trap the steam.
4. Bake for about 30 minutes until the crust is golden. Keep an eye on your loaf during baking. If it colours too quickly then turn the heat down.
I hope you enjoy the recipe and don't forget to let me know how you get on!
If you enjoyed this blog and would like to support ongoing content creation and help keep the website ad-free, you can click below to make a contribution.
As an Amazon Affiliate, I may earn a commission from qualifying purchases
Watch the step-by-step process of how to make the iconic British Bloomer in the video below.