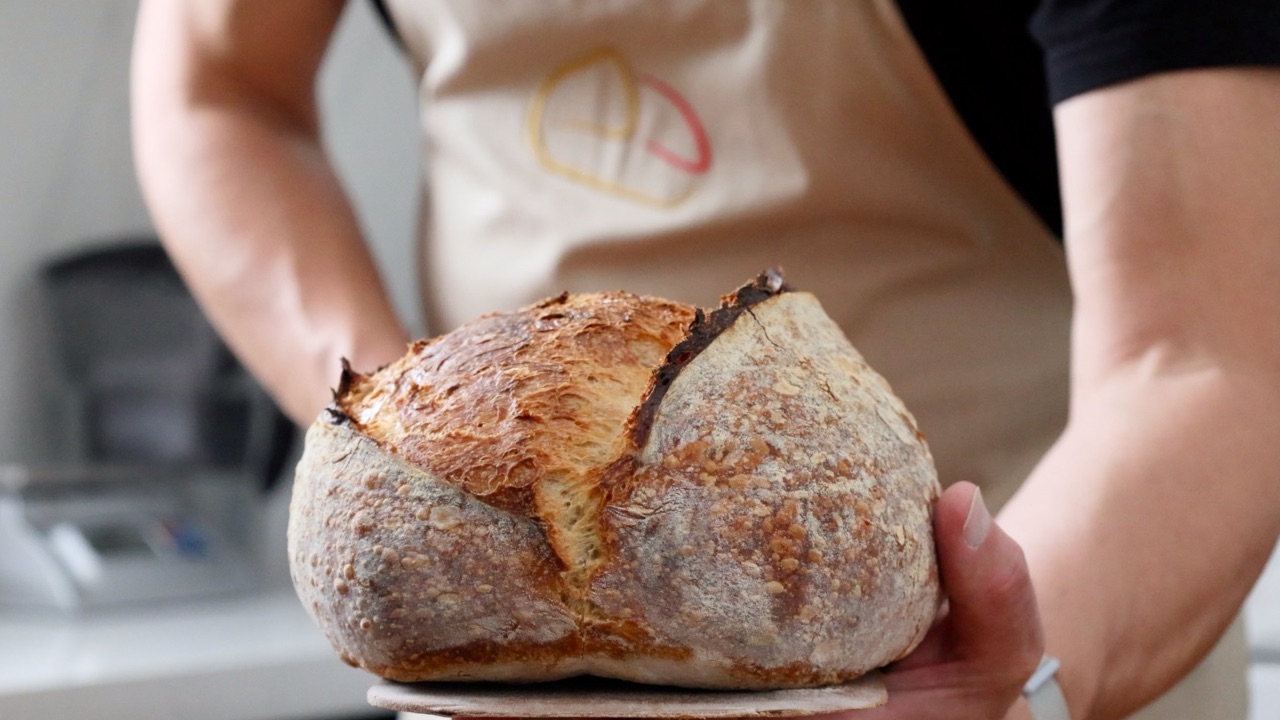
How to Bake Amazing Sourdough Bread on a Budget
If you are striving to bake an amazing loaf of sourdough on a budget there are three main categories you will need to think about.
Choosing a good quality budget-friendly flour reduces the main ingredient costs. Using the cold oven method for baking will drastically reduce electricity. Keep wastage to a minimum throughout the baking process and the sourdough storage stage.
In this blog, I’ll explain how to choose a budget-friendly flour, how to use it, how to change your oven setup to save electricity, how to avoid wastage throughout the baking process, and how to care for your loaf once it’s baked.
- Choosing a budget-friendly flour
- Save electricity with your oven setup
- Reducing wastage
- Watch the video
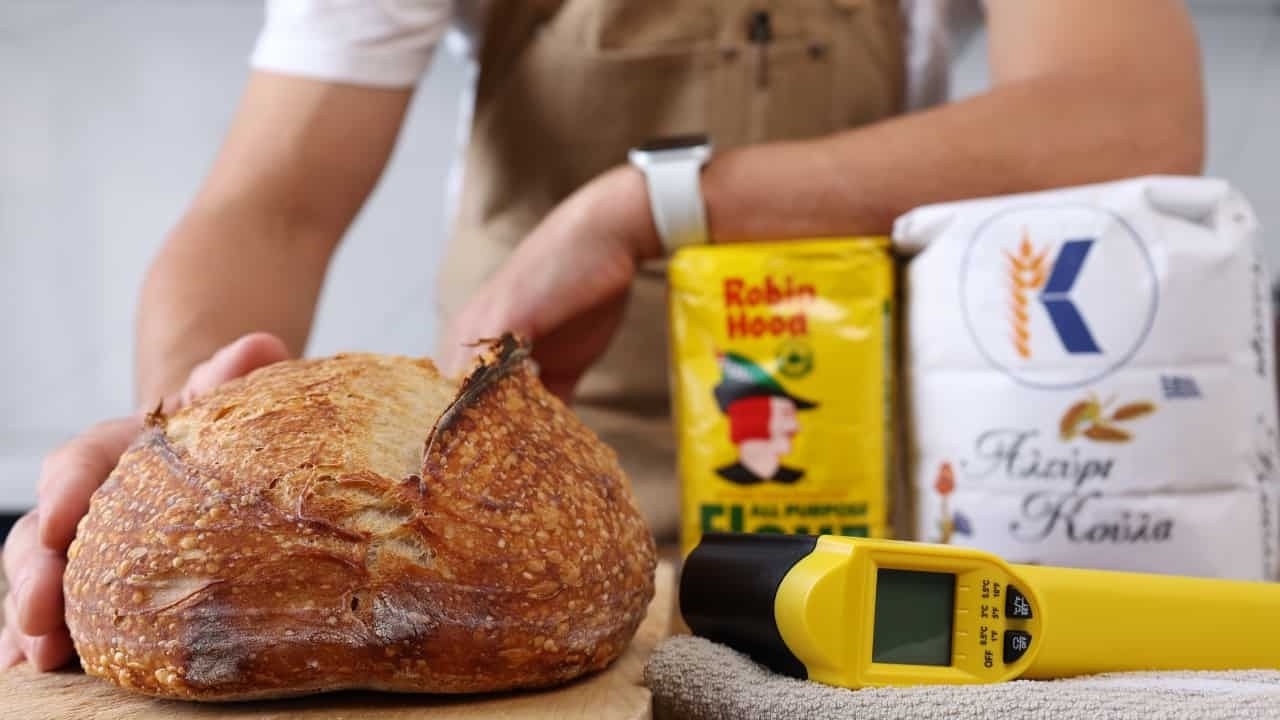
Choosing a budget-friendly flour
You can see the exact savings I made in the video at the end of this blog, but to summarise, switching from a premium brand of strong flour to a local soft flour reduced my flour cost to just €0.60 per loaf. (£0.52 - $0.62).
If you are looking for a cheaper option the chances are you’ll end up with all-purpose flour. This normally means that the flour will be soft and lower in protein. This isn’t generally considered the best flour to use for sourdough but we can work with it.
I have used several all-purpose flours to bake sourdough and I’ve found that in most cases it produces a softer dough that can be sticky, and difficult to handle and shape. It is also prone to spreading once turned out of the basket.
To combat this the hydration can be reduced in the recipe. If for example, 70% hydration is used in combination with strong flour, 60%-65% hydration will be beneficial for soft flour. There is no magic formula and testing different hydration levels over a few test baking sessions is preferential.
You can use my sourdough recipe calculator to help you with this.
A dough made using soft flour is less likely to develop as much strength compared to a dough made with strong flour. I have found that this can lead to the dough collapsing if it is left too long to ferment. I reduce both the bulk fermentation and the proofing time in the basket to avoid this.
I have spent many years baking with strong flour and the dough it produces is bulletproof, it’s a safe choice. Since experimenting with softer local flour I have managed to reduce costs but I’ve also improved as a baker.
I’ve learnt how to adapt recipes and work with a lighter touch to combat the problems associated with using soft flour.
If saving money is your goal I’d encourage you to look further than the expensive brands and seek out new flour to try. Experimenting is key but you’ll learn a lot about recipe development and handling the dough in the process.
Of course, if you can find a budget-friendly strong bread flour give that a whirl first, unfortunately, I haven't been that fortunate!
Save electricity with your oven setup
In most cases, sourdough is normally baked on a baking stone or in a dutch oven that’s been pre-heated to around 220 degrees Celsius (430F).
In my case, that means the oven needs to preheat for one hour before my baking stone or challenger pan hits the target temperature. The sourdough baking time is only forty to forty-five minutes which means my oven is pre-heating longer than the bake time!
I decided to experiment with the cold start method which involves sliding your sourdough into a cold oven and then turning on the heat.
It seems counter-intuitive as I’m normally relying on the stored heat in the baking stone or challenger pan to provide an immediate blast of heat, springing the loaf upwards during the first part of the bake.
Nonetheless, I was undeterred and proceeded to strip my baking stone from the oven.
I tested several different methods to see which produced the best loaf with the oven running for a minimal amount of time. This was the solution that worked best for me.
I use an upside-down oven tray placed in the lower third of the oven as a flat platform to receive the dough. A non-stick silicon mat is placed on top of the tray to stop the dough from sticking. You can see a walk-through of the setup in the video below.
When it’s time to bake I spray the inside of a large lightweight pot with water. The dough is scored and slid onto the Teflon mat and immediately covered with the pot.
After closing the oven door I set the oven to conventional bake mode (no fan) and set the temperature to 220 degrees Celsius (430F).
The sourdough bakes for 30 minutes covered with the pot, I remove the pot and leave the sourdough to finish baking for twenty minutes.
The lightweight pot is great, it allows the heat to pass through quickly while trapping the steam and helping the dough to rise.
It’s important to remember that the dough sits in the cold oven for several minutes before the heat builds up, so using a stiffer dough is preferable. If your dough is too soft it may spread out before coming into contact with the heat, resulting in a flat loaf. Reducing the hydration as described in the section above will help with this.
I managed to reduce the amount of time my oven was turned on from 100 minutes down to 50 minutes, that’s 50% less.
Reducing wastage, keep it to a minimum
This is often overlooked but is critical for saving money. There are two areas where the most wastage occurs, the sourdough-making process and how the sourdough is stored and used after baking.
During the sourdough-making process make sure that you use a bowl scraper and bench scraper to remove pieces of dough from your bowl and worktop and return them to the main dough. It’s easy to lose 30 or 40 grams of dough if we don’t work cleanly. Over the course of a year, that is a lot of flour!
Flour for dusting the workbench or the dough should be used sparingly. How many times have you cleaned up your bench only to find you have a pile of flour destined for the bin. Instead of dusting with flour, use a spray water bottle to stop your dough from sticking during the stretching process.
When it’s time to shape the dough use as little flour as possible, not only will this reduce wastage but it will help in stitching the dough together when shaping.
Lastly, store your sourdough correctly and have a plan on how you will use it. Don’t restrict yourself to usual toast and sandwiches, sourdough that’s become dry can be used for amazing dishes, such as Panzanella salad, Ribollita or French toast. There will be some special dishes coming here on the website and on YouTube which will help you get the most out of your loaf.
In this blog, I dive deeper into storage methods and give you a sample plan on how to use your sourdough.
I wish you the best in your journey to keep your baking costs manageable and make sure to have some fun while experimenting!
If you enjoyed this blog and would like to support ongoing content creation and help keep the website ad-free, you can click below to make a contribution.
As an Amazon Associate I earn from qualifying purchases.
Watch the video
As an Amazon affiliate, I may earn commission from qualifying purchases