Chocolate and Cherry Sourdough

This is the most interesting loaf of sourdough I have baked and comes from the team at Modernist Cuisine Bread.
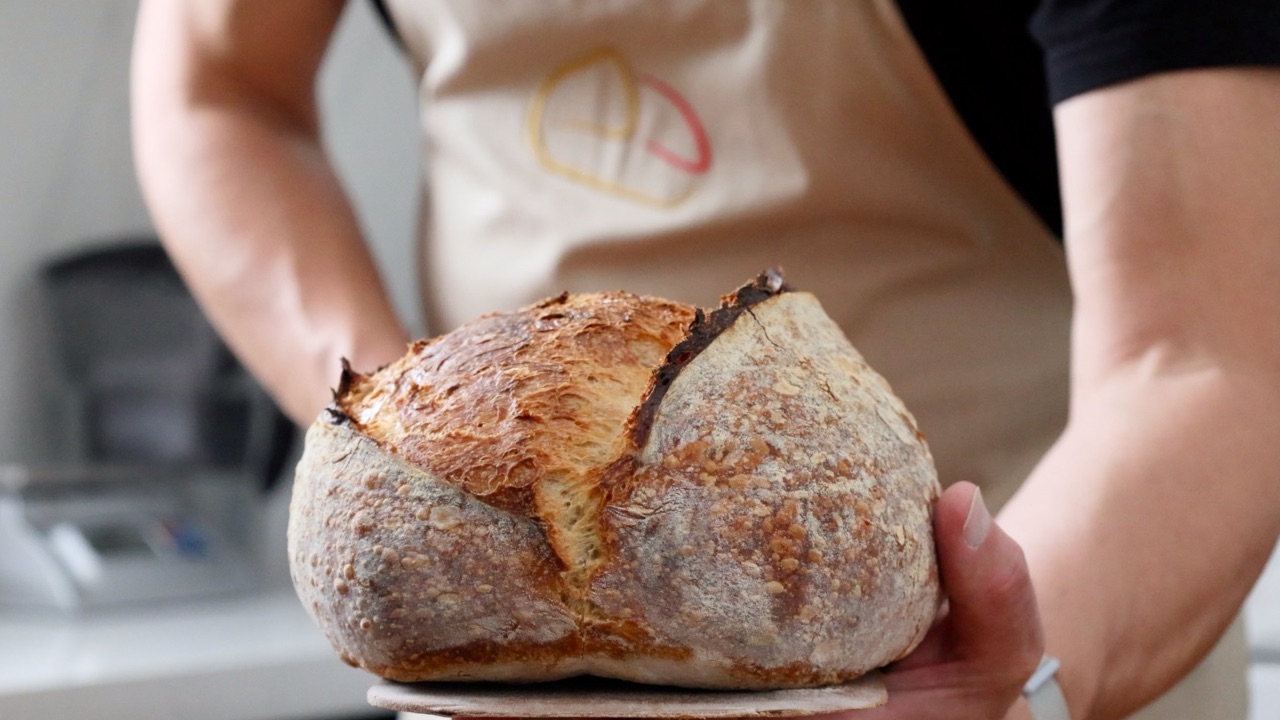
The weave of the crumb is quite tight and broken up by warm sweet cherries with chocolate oozing out of the gaps.
As you eat, the creamy chocolate melts over your tongue while the dried cherries added a soothing sweetness. It’s hard to work out if you’re eating sourdough or cake.
This is for home bakers who enjoy experimenting. It’s fun to make and even more enjoyable to eat.
I have tweaked the recipe slightly to suit my baking style and my kitchen temperature but it’s not far off of Modernist Cuisine's original recipe. You can see the tweaks I made in the section below.
I did make one change, and one I think is for the better. The original recipe instructs you to bake it as a boule or rolls.
So I made a batard the first time I baked this recipe. I fell in love with the crumb instantly, but I wasn’t so keen on the crust.
But, the crumb reminded me of a fruit loaf I’d eaten as a kid, so I scaled the recipe and baked it in a Pullman tin with a lid.
The resulting crust was thin and as you bite through the crackly crust you immediately get hit this moist layer of crumb.
I prefer baking the loaf in a Pullman tin but of course, it’s subjective, so I’d suggest trying both methods.
This is a recipe for the weekend and you won't be disappointed.
Vitals & bakers percentages
Recipe formula
Key ingredients / substitutions
Baking timeline
Scaling the recipe
The equipment you’ll need
The chocolate and cherry sourdough recipe
Watch the video tutorial
Quick reference printable recipe
Recipe calculator
Recipe vitals & bakers percentages
Modernist Cuisine doesn’t give all of the baker’s percentages for this recipe on their website so I reverse-calculated some of the ingredient weights.
I pretty much stuck to their percentages but I did scale the recipe up so the dough would fill a Pullman tin.
The recipe is 92% hydration but don’t let that worry you. The cocoa powder sucks up a lot of that extra moisture and once the chocolate and dried cherries are added the dough really firms up.
I reduced the amount of levain used in the recipe as I wanted to increase the fermentation time.
The original recipe uses a touch of instant dried osmotolerant yeast which I didn't have and couldn’t find easily here in Greece.
I tried one test bake with normal instant dried yeast, and one without, but there was no notable difference, so I decided not to include it.
I encourage you to check out the original recipe from the Modernist Cuisine Bread team here.
Recipe formula

Key ingredients / substitutions
Chocolate
I used baking stable chocolate chunks from Callebaut which were tricky to find. The inside temp of the dough hits about 95C and these chunks obviously melted.
They didn’t disappear completely, they formed little melted pools which stabilised little as the loaf cooled, and produced a nice texture and fantastic taste.
Would I bother with tracking down baking stable chocolate again for this recipe? Probably not, I’d choose a good-quality baking chocolate that was easy to source.
Dried Cherries
I bought organic dried cherries from Bulgaria on Amazon. These were fantastic, but of course, the price reflected that.
I’d suggest investing in the best quality whole-dried cherries you can source. They are the star of the show and using poor-quality dried cherries wouldn't do this loaf justice.
Cocoa Powder
The cocoa powder gives a foundation chocolate flavour to the crumb and for this reason, I chose an organic pure cocoa powder.
Espresso
This recipe only uses 17 grams of freshly brewed espresso. As it’s only a small amount it may seem tempting to skip it… but I’d urge you not to.
The flavour of the espresso isn’t prominent in the final loaf, but it’s noticeable and does a fantastic job of tying the other ingredients together. How do I know? I made a loaf without it to see if it really made a difference.
Baking timeline
My kitchen was an average of 22C/72F during the baking schedule. Remember that if your kitchen is cooler the process will take longer. In warmer kitchens, the fermentation process will happen quicker.
Day 1
22:00 Mix levain (10m)
Day 2
09:00 Mix the dough (15m)
09:30 Quick knead (5m)
10:30 1st lamination (5m)
11:30 2nd lamination (5m)
12:30 Inclusions (10m)
16:00 Shape & proof (10m)
18:00 Cold proof
Day 3
09:00 Bake (1m)
09:50 Cool
Hands-on time: 1h (approximately depending on experience)
Total time: 36h
Scaling the recipe
You can easily scale this recipe by entering the percentages from the recipe formula above into my sourdough calculator.
It’s completely free and it’s perfect for scaling any recipe or designing your own. There is a short instructional video on the sourdough calculator access page.
The equipment you’ll need
You'll need a reliable set of scales for this recipe. A Pullman tin works best for this recipe as you can close the tin with the lid. Each surface of the dough is encased during baking and it produces a wonderfully crackly crust with a moist layer just underneath.
These ChefMade Pullman tins work perfectly for this recipe, I've been using the same tins since starting the YouTube channel, they’ve baked numerous loaves and stood the test of time.
This is quite a dense loaf, so it becomes tricky to know when it’s baked correctly. I like to use a Thermapen to check the internal temperature after baking.
As an Amazon Associate I earn from qualifying purchases.
Chocolate and cherry sourdough recipe
Mixing the levain
40g strong white bread flour
40g water
4g sourdough starter
The night before I’m planning to mix the main dough I mix my levain. This gives the levain a long slow fermentation period and ensures it’s peaking when I’m ready to bake the next morning.
Add the water, flour and sourdough starter to a large enough jar to accommodate the mixture quadrupling in size.
Mix with a spoon until the ingredients are well incorporated but don’t worry about getting it completely smooth. The fermentation process will take care of that for us.
NOTE: I use a small amount of sourdough starter to inoculate my levain so that it takes about 12 hours to reach its optimum. You can increase the amount of sourdough starter to speed the process up. To calculate adjustments accurately and quickly feel free to use my free sourdough recipe calculator.
Mixing the main dough
345g strong white bread flour
301g water
17g freshly brewed espresso coffee
8g salt
77g levain (from above)
34g cocoa powder
184g baking chocolate chips
184g dried cherries
Mixing the dough
Add the water, espresso and salt to a large mixing bowl. Give it a quick stir and set the bowl to one side.
Combine the strong white bread flour and cocoa powder in a separate mixing bowl and stir really well to blend.
Now stir the water and coffee mixture to make sure the salt is dissolved properly.
Add half the flour and cocoa mixture to the water mixture and stir to create a porridgy consistency.
Add the levain to the porridgy mixture and stir it really well to make sure the levain is blended through the mix.
Add the rest of the flour to the wet mixture and use a spoon to mix everything into a rough dough.
Once the mixture is too stiff to continue mixing with a spoon, wet your hand, and use a pinching motion to finish mixing.
The dough doesn’t need to be smooth but you need to make sure there aren’t any dry pockets of flour and cocoa powder.
Cover the bowl and leave it to rest at room temperature for 30 minutes.
Quick knead (mix)
Turn the dough out of the bowl and onto your worktop and knead for two minutes to ensure the ingredients are thoroughly mixed. The dough will become smoother.
The purpose of this kneading is to make sure the dough is thoroughly mixed and not to build strength in the dough.
Shape the dough into a ball and place it back into the bowl, cover it and leave it to ferment at room temperature.
Lamination / stretching - number 1
After 1 hour it is time to stretch the dough. You can either laminate the dough or stretch it in the bowl.
To laminate the dough: turn the dough out onto the worktop and carefully stretch it out into a large square.
Fold the right side of the dough over the centre third. Repeat with the left side. Now fold the top section of dough over the centre and repeat with the bottom.
You should end up with a smaller sized square with 9 layers. Shape the dough into a ball and place it back into the bowl, cover again, and leave to ferment for 1 hour.
See the video below for a demonstration of how to laminate the dough.
Tip: If you are having trouble with your dough sticking to the worktop you can lightly mist the worktop before laminating the dough. Be careful though, if you use too much water the dough will slide on the surface and become more difficult to stretch.
Lamination / stretching - number 2
After resting the dough for 1 hour repeat the lamination process one more time.
Lamination and inclusions
After the dough has rested for one more hour it’s time to add the inclusions.
The aim of the game is to evenly distribute the chocolate and cherry inclusions between each fold of the dough. You can use any method but this is how I do it.
Stretch the dough out once more into a large square. Now evenly distribute some of the chocolate and cherries over the centre third of the dough running from bottom to top.
Fold the right side of the dough over the inclusions and push the dough together with your fingers to encapsulate the inclusions.
Now evenly spread the inclusions over the second layer of dough before folding the left side over to cover, push the dough together with your fingers again.
Now distribute the chocolate and cherries over the centre square of the dough and fold the top over to cover, press carefully.
Spread more inclusions over this piece of dough and finally fold the bottom over to close the square parcel of dough.
Use your fingers again to make sure the dough is sealed and the inclusions are encapsulated.
The dough can now be carefully shaped into a ball and placed back into the bowl, covered and left at room temperature for the final part of the bulk fermentation.
See the video below for a demonstration of how to add the inclusions
Shaping
After 7 hours the dough should have increased in volume by 50% and it’s time to shape the dough.
First, prepare your Pullman tin by rubbing both the tin and the lid with butter.
Very lightly dust the top of the dough with flour, gently release it from the bowl, and carefully turn it out onto the worktop with the floured surface facing down.
Gently dimple the dough with your fingers while stretching it out into a circle.
Fold the right and left-hand sides of the circle in towards the centre. Gently press the dough down again with your fingers.
Roll the dough from the furthest point towards you to create a long cylindrical shape. Use enough pressure to keep the dough taught.
Seal the dough together along the seam and place it seam-side down in the Pullman tin.
Cover with the lid and leave it proof at room temperature.
Cold proof
Keep a close eye on your dough and when it has risen and is just touching the underside of the lid it’s time to pop it in the fridge for an overnight cold proof.
Bake
Preheat the oven to 210C/410F using conventional bake mode (no fan).
I leave my baking stone on the lower third shelf. If you aren’t using a stone you may need to extend the baking time by five minutes.
Remove the Pullman tin from the fridge.
If using a baking stone place an upturned baking tray on the stone to protect the bottom of the loaf from the direct heat.
Place the Pullman tin on the upside-down baking tray and bake for 50 minutes. Use a Thermapen to check the internal temperature, it should reach 95C/203F
After baking, remove the loaf from the tin immediately and leave it to cool on a wire rack.
If you enjoyed the recipe and would like to support ongoing recipe creation and help keep the website ad-free, you can click below to make a contribution.
As an Amazon Associate, I earn from qualifying purchases.