Homemade Farmhouse Sandwich Bread
Have we lost our way by adding so much fat and sugar to our bread in search of a soft crumb? Is there another way?
Don’t get me wrong, I love enriched breads, but maybe the line between a great bread dough and an enriched dough is becoming more and more blurred as time goes on.
Do we really need to be adding bags of fat and sugar to every loaf in desperate pursuit of a loaf that will sit on our shelves for days without deteriorating?
This sandwich bread recipe uses fresh yeast, a pre-ferment and longer proofs to create a unique farmhouse loaf, without any sugar or fat.
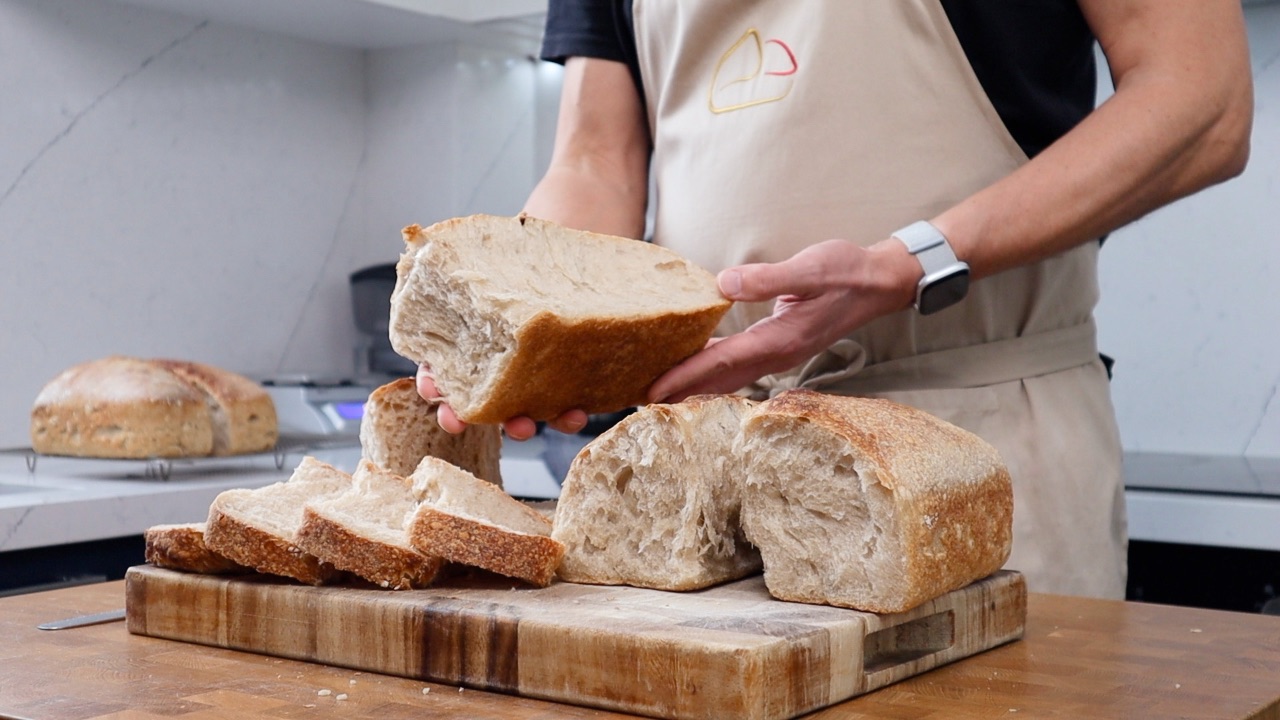
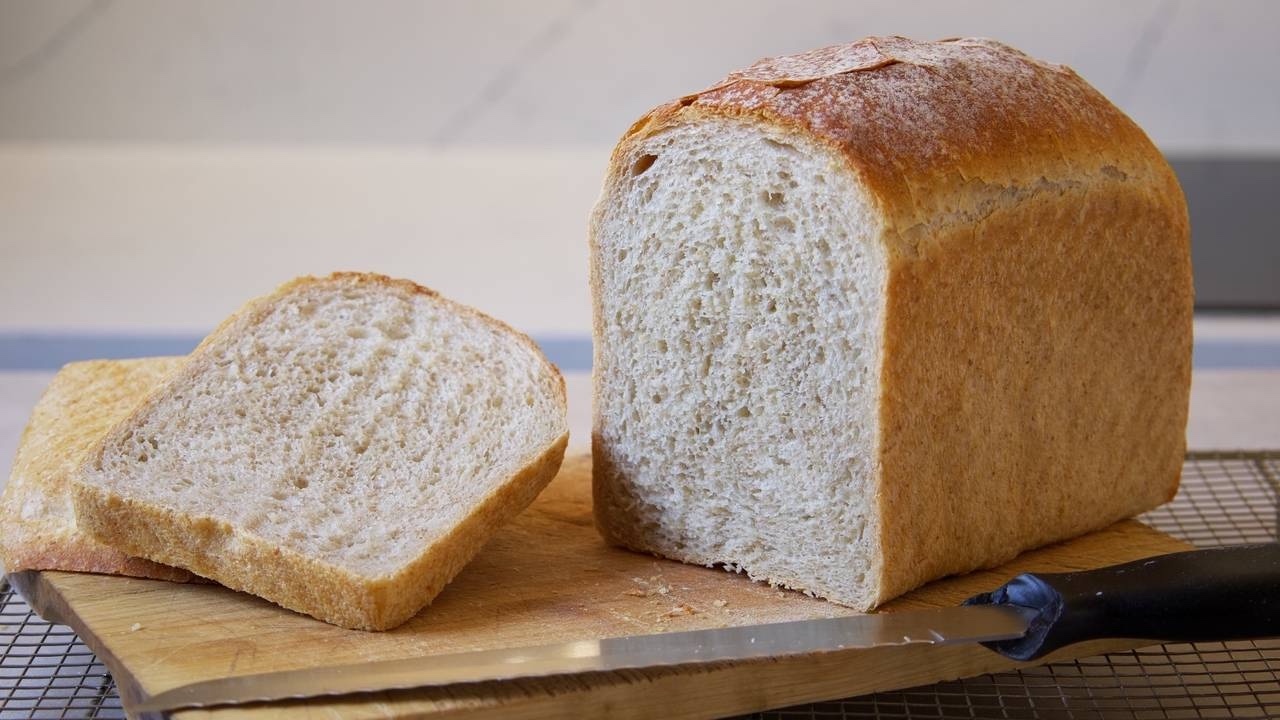
The texture of the crumb is soft but not pappy. It stands up well to robust fillings without disintegrating.
I understand that most people's concern is how long the bread will keep. But is that really something to worry about?
I think this farmhouse loaf has a quality all of its own. On day one and into day two it is great for sandwiches.
During day two the loaf naturally starts loosing a little moisture. At this point this becomes one of the best loaves I have baked for toasting.
It creates a rustic and robust vehicle for heavy ladened open toasted sandwiches; mushrooms on toast, beans on toast, croque madame, simply toasted and rubbed with garlic, drizzled with olive oil and sprinkled with salt. The possibilities are endless.
As I said at the beginning of this post, I love enriched breads. I also love a contrast, breads that have been created with minimal ingredients and put together over time.
It’s these breads that have character and depth of flavour through longer fermentations.
I will link to my YouTube video below where you’ll be able to watch the step by step of the recipe.
I use fresh yeast in this recipe but if you would rather use instant dried yeast you can add half of the amount.
I am using a 900g (2lb) loaf tin to bake this loaf. This quantity of dough works perfectly for this sized tin.
The tins I use to bake with are non stick and clean easily. They work extremely well for baking bread loaves and desserts like my chocolate babka.
These are the baking tins I like to use.
Times & temperatures
My kitchen temperature: 18c / 65f
Oven temperature: 220c / 430f
Oven setting: Bake mode (top & bottom heat with fan turned off)
Bake time: 40 minutes
Recipe & Method
The Preferment
90g Strong white bread flour
90g Wholewheat flour
180g Water
1g Fresh yeast
1. I normally prepare the preferment 12 hours before I make the main dough, which in most cases is the night before.
2. Mix the ingredients together loosely. I like to rub the yeast between my thumb and finger in the wet ingredients to dissolve it.
The preferment mixture doesn’t need to be smooth. The long fermentation period will work its magic and take care of this. Cover well and leave out at room temperature to ferment.
If your kitchen is super hot then you could slow this process down by putting the poolish in the fridge. If you do this I would suggest letting it begin the process at room temperature first.
The Main Dough
360g Strong white bread flour
360g Preferment from above
200g Water
10g Salt
3g Fresh yeast
1. When you are ready to mix your dough you can add all of the ingredients for the main dough to the preferment. I like to rub the yeast between my thumb and finger to dissolve it in the wet ingredients.
Note: Don’t stress if the preferment has only been fermenting for 10 hours or has overshot a little, for example 15 hours. When you are ready to bake just make sure it looks the same as mine in the video.
2. Mix the ingredients together to form a rough dough. Don't worry about getting it smooth at this point. Cover the bowl and leave it out at room temperature to rest for 20 minutes. This will give the flour time to hydrate.
3. Turn the dough out on to your work surface and knead the dough for 10 minutes. You can see the process in the YouTube video linked at the bottom of this page.
Form the dough into a ball, place it back into the bowl and cover. Leave out at room temperature to proof.
4. My dough took three hours to proof at my kitchen temperature. Turn the dough out onto a lightly floured work surface. Shape the dough into a ball and leave covered with a clean kitchen cloth for ten minutes.
5. Lightly dust the top of the dough with flour and turn it over on your worktop. Push the dough out in to a circular shape. Pick up the sides of the dough and cross them over each other. Press down to form a triangular shape.
Lift the furthest edge of the dough and begin to roll it towards you. As you complete each roll push the dough forward to create tension on the surface and seal the dough against itself. Continue rolling and shaping into an oval sausage shape.
Refer to the video to see the exact process.
5. Lightly flour the dough and place into your bread tin with the seam facing down. Cover and proof at room temperature.
6. Pre-heat your oven to 220c / 430f.
I use a baking stone to bake the loaf on and a baking tray to create steam. You can see the oven setup in the video but the loaf will bake happily on the oven shelf without steam.
7. Once the dough is proofed you can bake it in the oven for 40 minutes. (My dough took 2 hours to proof at my kitchen temperature).
8. Once baked carefully remove from the tin and leave to cool completely on a wire rack.
If you enjoyed this blog and would like to support ongoing content creation and help keep the website ad-free, you can click below to make a contribution.
As an Amazon Affiliate, I may earn a commission from qualifying purchases
Watch the step-by-step process of how to make the iconic British Bloomer in the video below.