Sourdough Fermentation Chamber Build

A temperature-controlled fermentation chamber is the most effective and accurate way of managing and maintaining constant temperatures, during the bulk fermentation and the proofing stage of the sourdough process.
Here in Greece it’s cold during the winter and scorching hot during the summer. So I only get a couple of months when the temperature is at its optimum for fermenting sourdough at room temperature.
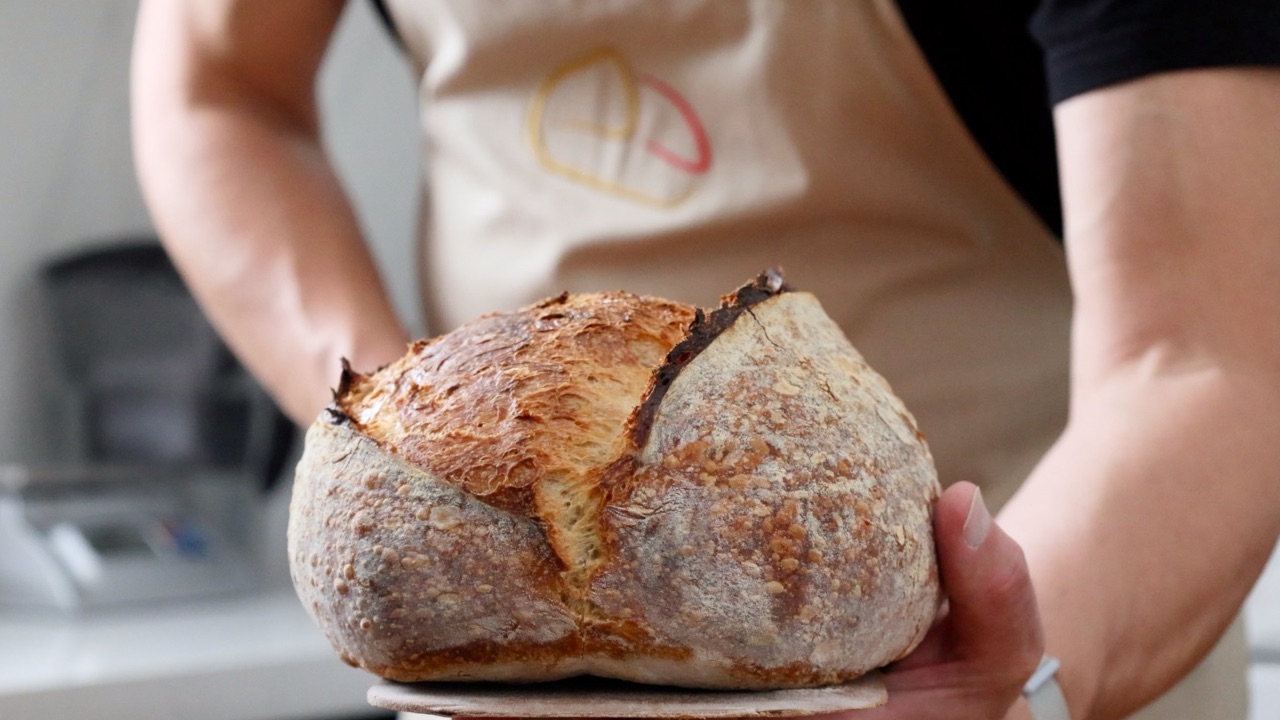
I bake a lot of sourdough for my YouTube channel and being able to maintain constant temperatures helps me schedule my videos and gives me more flexibility over the type of sourdough videos I can produce.
I’m also embarking on a project to record sourdough fermentation times and data, so I needed an extremely accurate way of maintaining constant temperatures without any fluctuations.
Click here to download the calculator and keep updated about the fermentation project.
At the end of the article, you will find a resource section listing all the equipment I used for this build.
As an Amazon Associate I earn from qualifying purchases.
The fridge
A couple of years ago I bought a cheap “end of the line” Liebherr fridge for keeping backup produce, both for home and for my YouTube Channel. Since moving we bought a bigger fridge for the kitchen and the backup fridge became redundant.
The fridge is slightly smaller than a standard under-counter fridge measuring 50cm wide. If I was going to buy one specifically for this project I would choose a 60cm wide model.
Importantly, the fridge didn’t have an integral freezer box at the top. This gave me more space for fermenting and made the conversion straightforward.
In case I needed to use the fridge as a “fridge” again, I didn’t want to do any “destructive” work on the fridge.
If you are interested in making one of these chambers I would suggest searching the free ads or websites and see if you can pick up a second-hand fridge. Just make sure:
- It’s in good condition
- It’s clean or possible to clean
- Fits the space you want to keep it in
- Doesn’t have an icebox.
If you want a smaller chamber then you could use a small drinks fridge that will fit on a countertop. I would use a reptile/seedling heat mat for the heat source in this smaller setup.
During the winter months, I have used a large Coleman cool box as the chamber. I removed the electrical plug from a seedling mat and ran the cable through the drain hole of the cool box and re-wired the plug. This enabled me to close the cool box properly.
To cool the icebox chamber I used ice bricks. This solution isn’t as accurate as using a fridge but it is perfect for home baking. I’ve used it successfully for a couple of years.
Shelving solutions
Fridges have a great shelving system with plenty of real estate. Unfortunately, as they are made from glass they restrict the airflow in the fridge. I needed the air to circulate freely to maintain an even temperature throughout the chamber so I removed; the shelves from the main compartment and the door, and the vegetable/ salad box and shelf.
Luckily my wire cooling rack fitted the shelf brackets perfectly. From an airflow perspective, this makes a great shelf but it bends and doesn’t feel completely rock solid. For the moment I have added a half-width glass shelf on top of the wire cooling rack to add some strength but still let the air circulate.
I’m going to make some shelves for the fridge so that I can maximise the amount of dough I can ferment in one session. I haven’t decided on a design yet, but as soon as they are complete I’ll update the blog and release a video update on my YouTube Channel.
Controlling the temperature
I am using an Inkbird ITC-308 temperature controller as the brain of the operation. The unit is plugged into a mains power outlet and supplies power to heating and cooling sources. The InkBird monitors the temperature using a probe that sits inside the chamber and connects to the unit with a small cable.
You can see this working by watching the video at the end of this article.
I use a small greenhouse tubular heater to provide the heat for the chamber but a reptile or seedling heating mat will work just as well. The heat source plugs into the heating output of the InkBird controller. The fridge will be used to cool the chamber and plug into the ink bird's cooling output.
I was concerned that the heat provided by the tubular heater would travel up through the chamber creating hot spots on the sourdough containers. To combat this I decided to install a 10cm USB fan to blow over the top of the heater and distribute the warm air evenly throughout the chamber. It works perfectly! I need to use a multi-plug so that the heater and fan are powered at the same time by the InkBird temperature controller.
If the room temperature is cooler than my target chamber temperature, I plug the heater and fan into the InkBird heating output and set the target temperature. Once the desired temperature is reached the InkBird switches the heater and fan off and the temperature slowly drops. Once it reaches a pre-set temperature the heater will switch on again.
If the room temperature is warmer than the target chamber temperature I reverse the setup, plugging the fridge into the cooling output of the controller and unplugging the heater and fan.
You do have the option to use the heating and cooling in tandem, the heater will raise the temperature to a pre-set temperature and then the fridge will take over to lower the temperature. So far I've had big temperature swings trying to use them both in tandem, although I can see some circumstances where I will need to do this. I’ll keep you posted on this.
Program guide for the InkBird ITC-308 temperature controller
The top reading on the controller is the current temperature.
The bottom reading on the controller is the target temperature.
There are two lights, one indicating when the unit is heating and the other indicating when the unit is cooling.
Press and hold the set button for 3 seconds to enter program mode
Use the directional arrows to scroll through the menu
Press and hold the set button for 3 seconds to confirm the settings and return to normal use mode
TS (Temperature set value) - use the scroll arrows to set the target in temperature in Celsius or Fahrenheit.
Setting range: -50-120°C / -58-248°F
HD (Heating differential) - If your target temperature is 25c and the heat difference is set to 1c, the heater will turn on again when the temperature drops to 24c.
Setting range: 0.3-15°C / 1-30°F
CD (Cooling differential) - If your target temperature is 25c and the cooling difference is set to 1c, the fridge will turn on again when the temperature raises to 26c.
Setting range: 0.3-15°C / 1-30°F
AH (High alarm) - alerts you when the chamber reaches this temperature.
Setting range: -50-120°C / -50-248°F
AL (Low alarm) - alerts you when the chamber reaches this temperature.
Setting range: -50-120°C / -50-248°F
PT (Compressor delay) - the amount of delay time in minutes you would like to stop the fridge compressor from starting up again. This is used to stop the compressor from turning on and off continuously and causing problems with the unit. My setting is at 4 minutes.
Settings range: 0-10 minutes
CA (Temperature calibration) - this is used to calibrate the temperature of the IkBird unit.
Setting range: -15°F-15°F
CF (Celsius / Fahrenheit)
Temperature plotting
I am using an InkBird IBS-TH2 Wireless Thermometer, Humidity & Temperature sensor to monitor the chamber. It reads the temperature and humidity continuously and shoots the data over to an app on my phone. I can set high and low-temperature alarms and export the data to a spreadsheet if I need it.
This comes into its own when I’m plotting data for the fermentation calculator, It’s a bit over the top for home baking :)
Video Monitoring
While I’m testing the fermentation times for the calculator I want to maintain a constant temperature. Each time I open the door the temperature fluctuates inside the chamber. I use the camera to see what is happening inside the chamber so I don’t need to open the door continuously.
To light the chamber for the using the camera I use a Philips Hue light bar that I switch on and off using an app on my phone. The light mustn't be left on as it will act as another heat source.
I control my GoPro camera wirelessly through the app on my phone to switch the camera on and off.
It works, but it isn’t great. The GoPro is slow to connect wirelessly and switching the light bar on and off is another step that I could do without. I’m looking at other camera solutions that make the workflow easier and provide a constant video feed to one of my monitors in the office.
Putting Everything together
I removed everything from the inside of the fridge to promote good airflow.
The cable for the tubular heater was too thick to close between the door seal and the fridge. I removed the plug and fed the cable through the drainage hole at the back of the fridge and re-wired the plug. The small USB fan sits next to the heater and blows over the top of it. I’ve fed the cable through the door seal on the hinge side of the door.
The door seal closes over the USB fan, InkBird temperature probe and Philips Hue light bar cables. The cables create a small gap but the temperature holds well in the fridge. I didn’t want to do any permanent or destructive changes, so this solution was best for my needs.
The temperature probe for the InkBird control unit and the InkBird temperature reader sit close to each other in the middle of the chamber.
I’ve used magnetic hooks to hold the InkBird controller and cables in place on the side of the fridge and keep everything tidy.
Upgrades Coming
I’m working on a new shelving system with built-in airflow and I’m looking into a new camera system for constant video monitoring without the need for a light.
I’m also playing with the idea of using humidity to create the perfect environment for proofing.
Resources - equipment available on Amazon
InkBird ITC-308 Digital Temperature Controller on Amazon
InkBird IBS-TH2 Wireless Thermometer, Humidity & Temperature monitor
LightHouse 305mm 45W Eco Heat Greenhouse Heater
Heating Mat, Indoor Greenhouse Heat Mat
As an Amazon affiliate, I earn from qualifying purchases.
I hope you’ve enjoyed the blog, don’t forget to watch the video to see it in action and if you’ve got any ideas, or have your own set-up, I’d be interested in hearing about it.
If you enjoyed this blog and would like to support ongoing content creation and help keep the website ad-free, you can click below to make a contribution.
As an Amazon Affiliate, I may earn a commission from qualifying purchases
Watch the Video