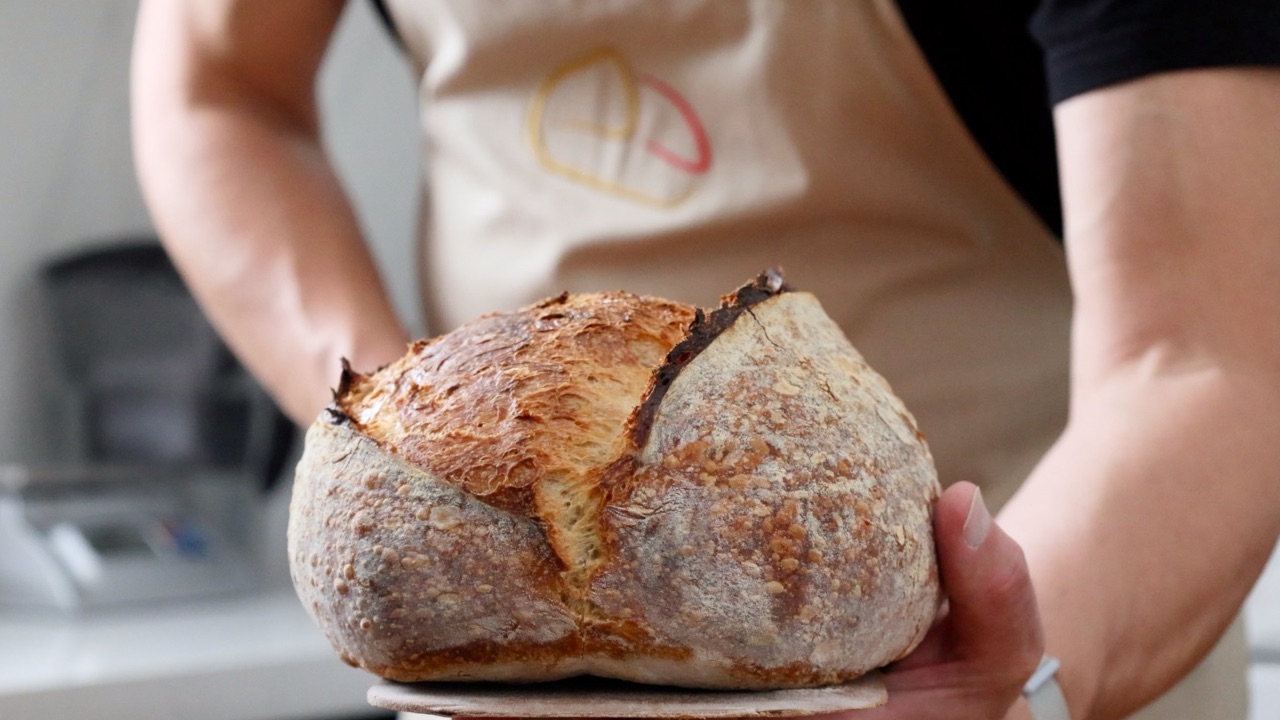
How to Mix Sourdough by Hand

The process of mixing the dough to make sourdough bread can often be depicted as a complicated process.
You could be forgiven for thinking that if you strayed from the most complicated system your sourdough loaf would be sentenced to doom, only to be relegated to the bin.
Complicated processes aren’t necessary and I would go as far as to say that they only serve to complicate what is essentially a simple process.
I feel your pain if you’ve fallen foul of overly complicated mixing methods and got lost in endless steps just to produce a simple dough.
Back in 2010, I landed myself in some hot water.
I was a private chef and had excepted a full-time job cooking for a family in Italy. One of the top requirements was that I bake sourdough daily.
I had been baking yeasted bread for the previous family I worked for in the UK, so I thought, how hard can it be?
It turned out to be disastrous. I had fallen into the trap of using an overly-complicated process which I found impossible to work into my schedule.
To make things worse, the sourdough I was baking sucked. It could have easily cost me my job.
It was only when I tossed the complicated methods to one side and stripped the process back that I was able to schedule my baking properly.
And you know what? My baking improved as a consequence. I was efficiently turning out decent sourdough.
The mixing stage is a process many like to complicate, and it’s simply not necessary. Here’s the method I've developed over time, it produces a perfectly mixed dough and a great loaf of sourdough

The mixing sequence
This sequence can be used for most doughs that use sourdough culture. (Or indeed commercial yeast or pre-ferments).
It helps to think about the sequence in which the ingredients are added to the bowl and how they affect the outcome.
1. Water (or the main liquid of the recipe)
I begin by weighing the liquid I’m going to use in the recipe into a large mixing bowl.
Starting with the liquid helps me rectify any errors I may make when weighing. How many times have you overshot the amount you were supposed to weigh in the bowl? By measuring the liquid first, removing any excess added by mistake is easy.
2. Salt
Next, I add the salt to the bowl and dissolve it thoroughly in the liquid. This helps distribute the salt easily and quickly throughout the dough.
You may hear that adding the salt later in the process is desirable because adding it early either hinders gluten development, retards the fermentation, or even kills the yeast.
Take the time to watch the video at the bottom of this blog. You will see that the dough made using this process develops plenty of strength after just 30 minutes.
All of my recent recipes are now made by adding salt to the liquid before adding wild or commercial yeast, and I don’t have any issues with gluten development or dough fermentation and it certainly doesn’t kill wild or commercial yeast.
This stage of the mixing process is also a good time to add any other ingredients that may need to dissolve (such as sugar).
3. Blending the flour
Weigh the different types of flour into a separate mixing bowl and blend them thoroughly with a spoon to make sure they are well combined.
This simple process saves lots of time and energy. When the flour is combined in its dry form it only takes a minute or so to blend with a spoon.
Whereas if you add the flour separately to the water you will need to expend a lot more energy by working the dough with your hands to combine the ingredients properly.
I recently made a dough using malted barley and forgot to add it to the dough, so I weighed it into the mixing bowl after adding the other ingredients.
Because the malted barley has an orangey brown colour it was easy for me to see how long it actually took to blend it into the dough properly.
I recently baked chocolate and cherry sourdough and used this method to incorporate the cocoa powder.
Can you imagine the work that would have been required if I had added the cocoa powder to the water without first blending it with the flour?
If you are only using one type of flour then this stage may not be necessary. But if you are using two or more types of flour I strongly urge you to include this stage in every dough that you mix.
4. Creating a porridge
I think this is one of the most helpful stages of mixing a successful dough. By creating a porridgy consistency it is super easy to blend sticky substances, such as sourdough culture, honey or syrups in to the dough.
I add about half of the blended flour to the bowl containing the liquid and salt. As the mixture is loose it is easy to stir and create a porridgy consistency.
Now I weigh my sourdough culture into the porridgy mixture. Because the consistency of the mixture is similar to sourdough culture it is a doddle to blend properly.
This is also the perfect stage to add sticky ingredients like honey, molasses, and malted barley syrup. They will all blend easily into the mixture.
Now that’s out of the way you can add any other inclusions that your recipe calls for you to add during mixing.
5. Add the remaining flour and complete the process
Now it’s time to add the remaining flour. I use a spoon to bring the ingredients together and if needed I may use my hand to finish pinching the ingredients together.
Now I have two choices.
1. Complete the mix
I can turn the dough out onto the worktop and use the heel of my hand to work the dough. After two to three minutes, the dough is perfectly mixed and ready to go back into the bowl for bulk fermentation.
But if I have time, I prefer the second choice.
2. Rest the dough
After bringing the ingredients together into a rough dough I cover the bowl and leave it to rest for 30 minutes.
The rest gives the flour a chance to hydrate.
I turn the dough out onto the worktop and after 30 seconds of turning the dough with your hand, you will feel how silky soft and smooth it becomes.
The dough can now be covered for the rest of the bulk fermentation.
I hope sharing the sequence of my mixing routine has given you some inspiration for your own process.
If you enjoyed the blog and would like to support ongoing recipe creation and help keep the website ad-free, you can click below to make a contribution.
As an Amazon Associate, I earn from qualifying purchases.