Pain De Mie, The Classic French Sandwich Loaf

This is the go to French sandwich bread for a reason, and the best bit? It's really simple to bake. If you are going to give this recipe a go, then I would suggest buying a really good sandwich bread tin with a lid (pullman tin).
There is a bit of a knack when it comes to proofing but I'll leave some tips at the bottom of this page.
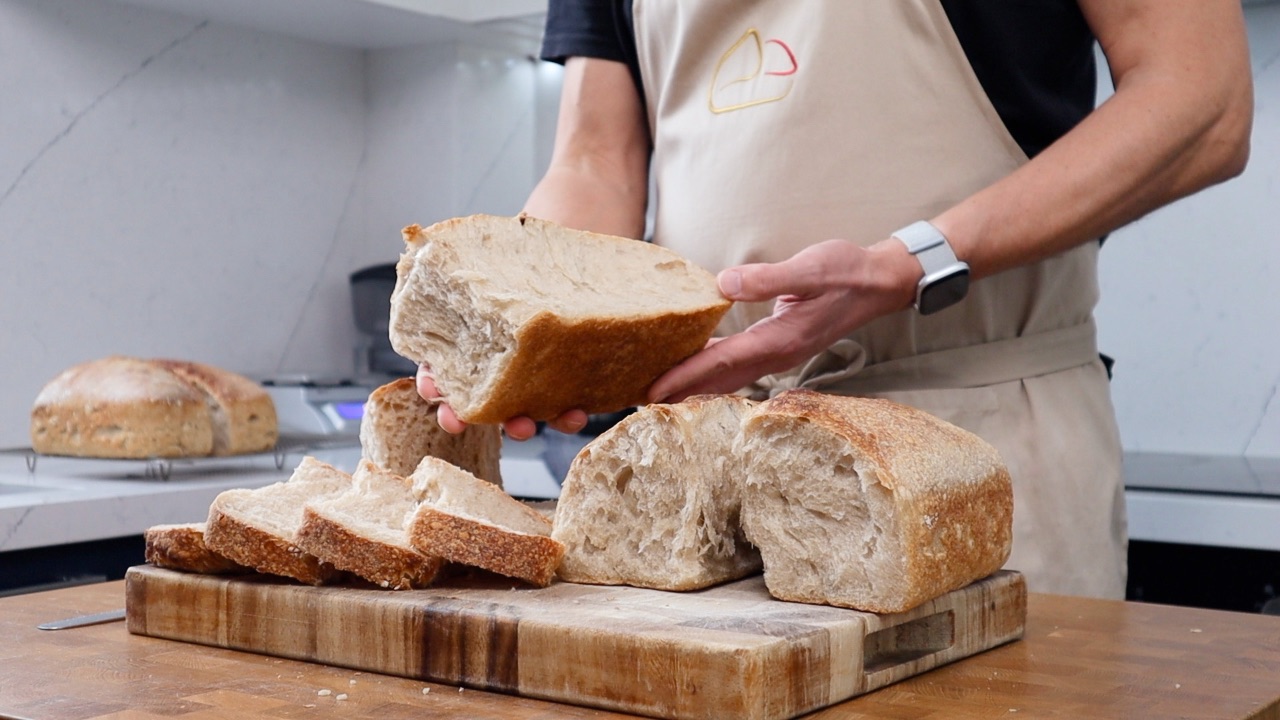
You won't be disappointed with this loaf, it will soon become a family favourite and it blows store bought sliced bread out of the water!
I am using a 900g (2lb) loaf tin to bake this loaf. This quantity of dough works perfectly for this sized tin.
The tins I use to bake with are non stick and clean easily. They work extremely well for baking bread loaves and desserts like my chocolate babka.
These are the baking tins I like to use.
Ingredients
380g Strong white bread flour (mine has a protein content of 13%)
265g Milk (3% fat)
15g Unsalted butter
10g Salt
20g Barley malt extract
8g Dried yeast
Dough weight: 698g
Times & temps
My kitchen temperature: 32c / 90f
Oven temperature: Pre-heated to 210c / 410f
Oven setting: Bake mode (top & bottom heat with fan turned off)
Bake time: 35-40 minutes
Watch the tutorial on YouTube
Method
1. To a large mixing bowl add the milk cold from the fridge and then sprinkle your dried yeast on the top. Next add the flour, salt and barley malt extract. Bring everything together into a rough dough, it doesn’t need to be smooth, just make sure everything is well incorporated and there are no dry areas of flour. Add the butter to the top of the dough and leave it there, cover and leave out on the bench at room temperature for 20 minutes. This will give the flour a little time to begin to hydrate.
2. Turn the dough out on to the work surface and begin to incorporate the butter. The dough will feel a bit slippy at first but as the fat emulsifies into the dough it will become easier to manage. Knead the dough for approximately 10 minutes until it feels nice and smooth. Shape the dough into a ball, place it back in the bowl, cover and leave out at room temperature to proof.
Your dough will be ready when it has roughly doubled in size. The surface of the dough is tight and under tensions. The dough feels full of gas but not in danger of collapsing.
3. Prepare a pullman bread tin by rubbing the inside with oil (my tin is non stick, but I always give them a coating of oil). I prefer to use a neutral vegetable oil for this process but you could use olive oil if you prefer!
4. Apply a light coating of the same oil to your work surface. This will stop the dough sticking, but don’t use too much! Turn the dough out of the bowl and gently work out into a large rectangle with the longest edges facing towards and away from you. Take the right hand side of the dough and fold it over the centre third of the dough and then repeat with the left hand side. You will now have one rectangle of dough with three layers. Gently flatten out the rectangle. Starting with the edge furthest away from you, roll the dough up tightly into a sausage and seal the the final semi down between your thumb and finger. (You can check the video for this process).
5. Place the dough into the tin and cover with the lid (not forgetting to oil the lid). Leave out at room temperature to proof. Once the dough has risen to touch the top of the lid it is ready to bake. You can test this every 10 minutes or so by gently trying to open the tin, once the lid sticks the bread has proofed.
6. Bake in the centre of an oven that’s been pre-heated to 210c / 410f, and set to bake mode with the fan turned off. Bake the loaf for 35-40 minutes. Once the loaf is baked remove the lid and turn the bread out of the tin. The lid may need a bit of a wiggle. Leave to cool before slicing!
If you enjoyed this blog and would like to support ongoing content creation and help keep the website ad-free, you can click below to make a contribution.
As an Amazon Affiliate, I may earn a commission from qualifying purchases
Tips & tricks
Another method of proofing - After placing the dough in the tin you can loosely cover it with a plastic bag. Once the dough has risen within a couple of centimetres of the top you can pop the lid on (not forgetting to oil it).
This method allows you to know when the dough is nearly at the top of the tin and you can check every couple of minutes to know when it has touched the lid. It has the benefit of avoiding a dough that over proofs, attempting to burst out of the tin.
Just remember, if you don’t keep an eye on the proofing the dough will rise above the top of the tin and you won’t be able to get the lid on.
So, with either method, keep an eye on your proofing!
(Thanks to Gerard Johnson, one of my viewers on YouTube for suggesting this for newbie bakers)