Super Soft Overnight Honey and Milk Bread Rolls

This recipe produces 24 beautifully soft bread rolls. They have a fluffy texture with a complex and mature favour. The honey adds a background sweetness that works beautifully with this flour blend.
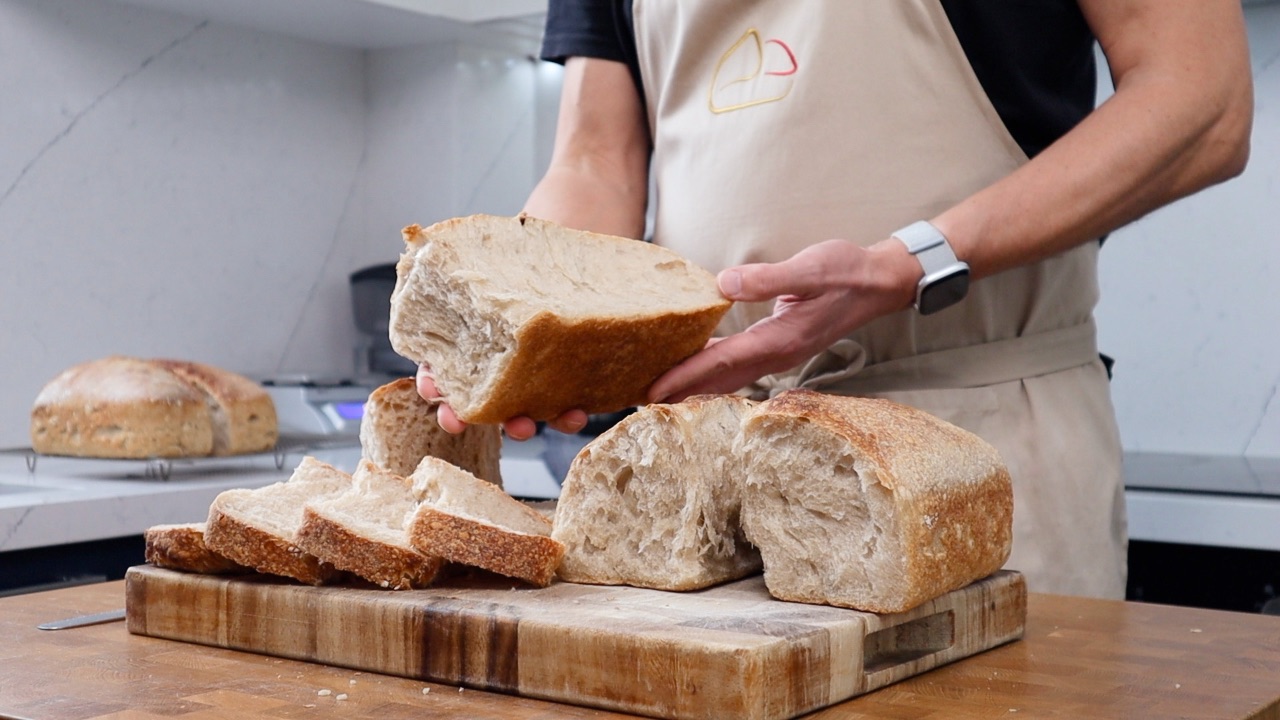
When these come out of the oven they will remind you what proper bread smells like. I was immediately transported back to the local bakery from my childhood.
There is little hands-on work, about an hour in total. Apart from that, they just need a little time to sit and develop flavour.
Vitals and bakers percentages
Recipe formula
Substitutions
Timeline
Scaling the recipe
The equipment you’ll need
The recipe
Watch the video tutorial
Quick Reference Printable Recipe
Recipe calculator
Vitals and bakers percentages
My kitchen temperature was between 20C/68F and 22C/72F throughout the baking process.
This recipe makes 1800g of dough which produces 24 small rolls. See the scaling section for details on adjusting the recipe.
The dough weight of each roll works out to about 73g each after accounting for the small amount of wastage that occurs during the process.
I’m using a blend of 40% strong bread flour, 40% soft white flour and 20% wholewheat flour. The overall protein content is 11% which helps to produce a light soft texture in the final roll.
Water is used to make the pre-ferment and milk is used in the main dough to help soften the bread roll. The honey adds a background sweetness that works really well with wholewheat flour.
The long fermentation process is key to achieving the complex and mature flavours. In other words, it’s worth the wait.
Recipe formula
 Substitutions
Milk
If you want to avoid using cow’s milk in the recipe you could stick with water, or use plant-based milk. I have used almond milk with really good success in other recipes.
Yeast
I’m using instant dried yeast in this recipe. If you want to use fresh yeast you can double the quantity.
If you are using another type of dried yeast then use the same amount specified in the recipe.
It helps to think of yeast as speed control. The less you use the longer the process will take, the more you use the quicker things will go.
This can be helpful if you are working in a hot climate as reducing the yeast will slow things down.
Just remember that using a lot of yeast in a recipe produces a heavy commercial yeast flavour in the final product.
Whereas using less yeast with a longer fermentation process results in a beautifully textured and mature-tasting bread.
Honey
Honey can be substituted for any sweetener but it’s worth remembering that it will affect the flavour profile. I chose honey for this recipe because it works very well with whole-wheat flour.
Feel free to explore.
Timeline
Don’t forget that your timings will be affected by the temperature of your kitchen. My timeline is based on a kitchen temperature between 20C/68F and 22C/72F and should be used as a guideline.
The warmer your kitchen is the quicker the process will go, the cooler, the slower things will go.
Day 1:
22:00 Mix the pre-ferment (10m)
Day 2:
10:30 Mix the dough (15m)
11:00 Quick knead (5m)
12:30 Laminate (5m)
14:30 Shape (20m)
16:00 Cold proof
Day 3:
10:00 Bake (15m)
10:15 Cool
11:45 Ready to eat!
Hands-on time: 1h 10m (approximately depending on experience)
Total time: 37h 45m
Scaling the recipe
This recipe makes 24 small rolls which fit perfectly in my 31x42cm Masterclass baking tray. You can simply divide the ingredients by two to make 12 small rolls.
Don’t forget that I have a fantastic free dough calculator which you can easily use to adjust the quantity. It’s also invaluable for designing your own recipes or tweaking hydration to combat sticky dough.
Click here to get the recipe calculator and make adjusting recipes quick and easy.
The equipment you’ll need
You’ll need scales for weighing the ingredients. A bowl and bench scraper will make handling the dough a lot easier but they aren’t essential.
You’ll need a non-stick baking tray. I recommend the Masterclass baking tray. It’s a great size for baking rolls like this, and this recipe is designed to fit it perfectly. (Along with my sourdough discard deep-dish pizza recipe).
If your tray isn’t non-stick don’t forget to line it with non-stick baking paper or a silicon mat.
As an Amazon Associate I earn from qualifying purchases.
The Recipe
The pre-ferment
170g strong white bread flour
170g water
1.5g instant dried yeast
Add the water, the instant dried yeast and the strong white bread flour to a large jar or bowl and mix. The mixture doesn’t need to be smooth but make sure there aren't any dry clumps of flour.
The mixture could quadruple in size so make sure your container is large enough to accommodate this.
Note: As some weight is lost during fermentation and some of the pre-ferment sticks to the container this recipe makes a little more than is needed.
The main dough
250g strong white bread flour
399g soft white flour
199g wholewheat flour
579g milk
20g salt
299g pre-ferment (from above)
3.5g instant dried yeast
50g honey
Mixing the dough
Add the milk to a large mixing bowl followed by the salt. Give the mixture a quick stir and set the bowl to one side.
In another large bowl add the strong bread flour, soft flour and wholewheat flour. Use a spoon to stir the flour until it is blended together properly.
Take the bowl with the milk mixture and add the instant dried yeast followed by about half of the flour. Stir the ingredients together until you have developed a porridgy consistency (it doesn’t need to be smooth).
Now you can add the pre-ferment and the honey. Use a spoon to blend these into the other ingredients.
Once well mixed you can add the rest of the flour mixture. Use a spoon to mix the ingredients together. When it becomes too stiff to work further, wet your hand, and use a pinching motion to create a rough dough. (It doesn’t need to be smooth)
Cover the bowl and leave it out at room temperature to rest for 30 minutes.
Quick knead
Turn the dough out onto your worktop. Knead the dough for about 2 minutes to ensure all of the ingredients are well mixed and the dough is relatively smooth.
Shape the dough into a ball and place it back in the bowl. Cover again and leave out at room temperature.
Lamination
After 1.5 hours turn the dough out onto the work surface. Stretch the dough out into a large rectangle or square.
Fold the right-hand side over the centre third. Repeat with the left-hand side. Now fold the top third over the centre and repeat with the bottom. You should be looking at nine layers of dough shaped in a smaller rectangle or square. (See the video below)
Shape the dough into a ball and place it back in the bowl. Cover it and leave it out at room temperature once more.
Shaping
After 2 hours the dough should have increased in volume by about 75%. If it hasn’t, leave it for a little longer.
Weigh the dough and then divide the weight by 24 (or the number of rolls you want to make).
Use a bench scraper to cut the main dough mass and weigh out 24 equally sized pieces.
Give each piece of dough a quick shape into rough balls.
Now it’s time for the final shape. Take a piece of dough and either roll it between your hands or on the worktop to create a ball.
Dip the ball into fine semolina flour (or whole-wheat flour) and place it onto the baking tray. Repeat with the other pieces of dough.
Spend a minute or so arranging the dough on the tray so that the gaps are even.
Place the tray into a large plastic bag (or find something suitable to cover it with) and leave it on the worktop at room temperature to proof.
After 1.5 hours the dough balls should be nicely proofed and touching each other. Cover the tray again and place it in the fridge for an overnight cold-proof.
Baking
The next morning pre-heat your oven to 210C/410F.
Remove the dough from the bag and lightly sprinkle the top of the dough balls with whole wheat flour.
Place directly onto the lower third shelf (don’t use a baking steel or stone) and bake for 7 minutes. Rotate the tray 180 degrees and bake for a further 7-8 minutes (14-15 minutes in total).
The rolls are baked properly when the tops are light brown.
Remove from the oven, and carefully remove the rolls from the tray. Place on to a wire cooling rack, cover with a clean kitchen cloth and leave to cool.
If you enjoyed the recipe and would like to support ongoing recipe creation and help keep the website ad-free, you can click below to make a contribution.
As an Amazon Associate, I earn from qualifying purchases.