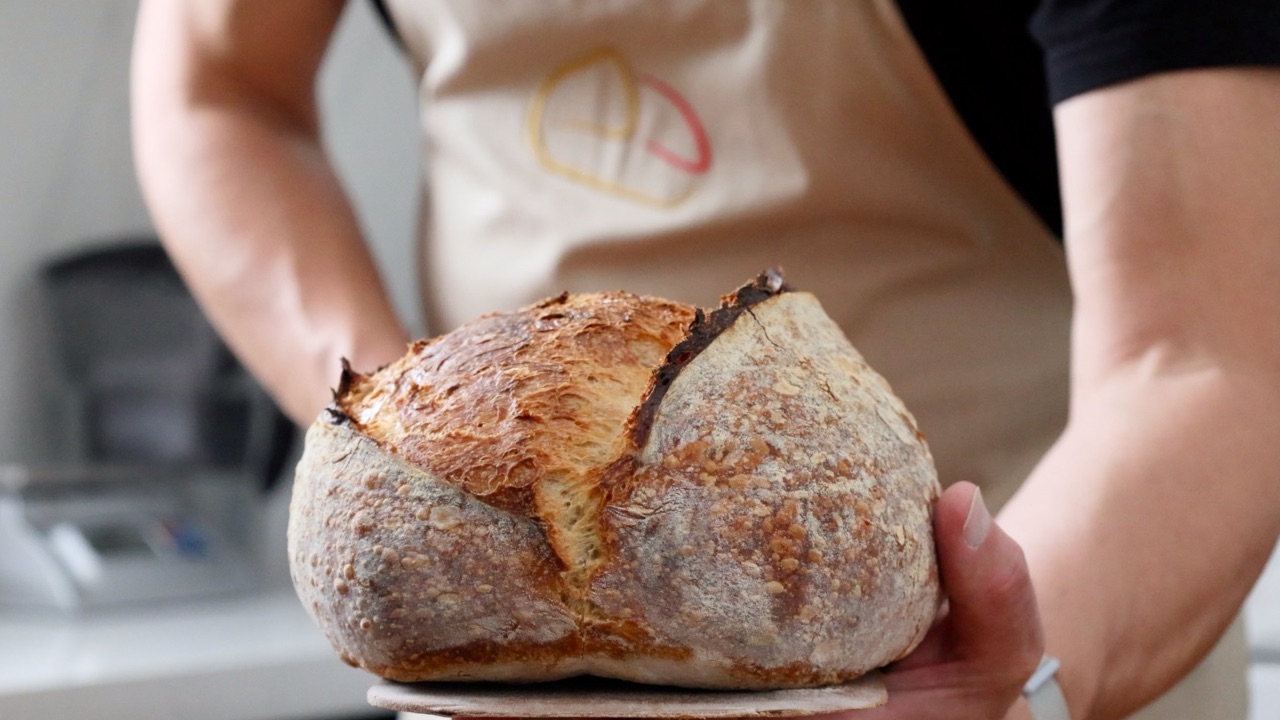
Sourdough English Muffins

This recipe produces an English muffin with a crisp, almost snappy crust, and a soft crumb with a distinctive sourdough flavour. These are so much better than the store-bought muffins which undergo a fast proofing process and are baked in ovens. If you aren’t convinced, try this recipe and hopefully I can convert you.
You can watch this full sourdough English muffin tutorial in the video section at the bottom of this page. Click here to jump there.
Before getting onto the recipe I’ll run through the different steps and helpful tips to baking an incredible English muffin.
How to shape an English muffin properly
We’ll be shaping the muffins by hand which will produce the right shape and texture on the outside of the muffin. Recently it’s become popular to use pastry cutters to shape the muffins but that involves more work and doesn't produce the same result.
Making muffins is virtually the same as making bread rolls. The main difference is that muffins are cooked on the stovetop creating a flat top and bottom.
How English muffins are cooked
English muffins are cooked on a griddle or in a heavy-based pan that sits on top of the hob.
They are flipped halfway through cooking which is what gives them the iconic shape. Cooking them directly on the heat source will deliver the unmistakable crust that these muffins are so well known for.
Traditionally they would be finished in the pan and never see the inside of an oven. However, I find I get a better result if I bake these in the oven for 10 minutes after cooking them in the pan.
While these are being cooked in the pan it’s important to use low heat, I use setting 3/9. The heat needs to travel through the dough and cook the inside before the outside crust overcooks. You may need to adjust the temperature depending on your hob and the pan you use.
In the video, I use a cast iron pan but recently I have been using my challenger pan as I can cook 4-6 muffins at a time. Don’t worry if you don’t have a cast-iron pan, you can use any heavy-based non-stick pan.
Low dough hydration is the key
The muffins are going to be handled during the cooking process so the hydration mustn’t be too high. I use 60% hydration for this recipe but feel free to adjust it if you prefer, just remember not to go too wet as you’ll need to pick them up.
Because the hydration is relatively low you will find it easier to knead the dough instead of stretching and folding. I’ve got a free sourdough recipe calculator for adjusting hydration.
What flour should I use?
To make life easier use strong bread flour. This will produce a stronger dough and make it easier when handling the dough balls and minimise the risks of the dough balls spreading or collapsing. I also use coarse semolina flour to coat the muffins before baking. This will give them the classic texture and crunch on the outside.
Times and temperatures
The timelines in the recipe for proofing the dough are based on my kitchen temperature which was 18c. Keep an eye on what your dough is doing and be prepared to decrease or increase the fermentation times to suit your situation.
I use two cold overnight fermentation periods in this recipe to improve the flavour of the English muffins. If you prefer you can make these in one day with no cold fermentation, or use one overnight fermentation.
Sourdough English Muffin Recipe
Kitchen temperature: 18c / 65f
Electric hob temperature: 3/9
Oven temperature: 180c / 350f
Bake time: Watch continuously while cooking in the pan. 10 minutes in the oven.
Ingredients
275g Water (room temperature)
170g Starter (100% Hydrated, active, bubbly and ready to bake)
12g Sea Salt
500g Strong bread flour
Semolina flour for dusting
Method
1. Add the water to a mixing bowl followed by the starter and stir it well to break it up. The starter doesn't need to be completely dissolved as it will break down during the fermentation period.
If you do want to dissolve the starter completely you can add 100g of the flour now which will help with achieving a smooth consistency.
2. Stir the salt into the mixture and add the flour. Using a spoon or your hand bring the dough together into a rough dough. It doesn't need to be smooth at this point but make sure there are no dry pockets of flour. Cover and leave out at room temperature to rest for 30 minutes.
Note: In the video, I use 15 grams of salt but have reduced it to 12 grams for this recipe
3. Turn the dough out onto your work surface and knead until the dough is relatively smooth. 4-5 minutes should be fine. The long fermentation period will build strength in the dough so we don't need to do that by kneading. Cover the dough and leave it out at room temperature until the dough has increased in size by another 60-70%. This took 4 hours at my room temperature.
4. Leave the bowl covered and place it in the fridge overnight.
5. The next day, remove the dough from the fridge and divide it into 9 equal pieces while it is still cold. Shape the dough into tight balls and dip the bottom of the balls into course semolina flour. Leave the balls for five minutes on the countertop to relax.
6. After five minutes gently push the dough balls down to create a flatter disc shape. Dip both sides of the dough in semolina and place on a tray lined with non-stick paper. Cover the tray with plastic or place it in a large plastic bag and leave it at room temperature.
7. My dough took 4 hours to increase in volume by 50% of its original size. Place the covered tray in the fridge overnight.
8. The next day pre-heat your oven to 180c or 350f and pre-heat your heavy-based pan to 3/9. Remove the dough balls from the fridge. In the video I let the dough come back to room temperature but, if you prefer, you can cook these directly from the fridge while they are still cold.
Place the balls carefully into the pan leaving enough room between them for expansion. Remember they are filled with gas and are delicate, so handle with care! Cook on the first side until a crust has formed and the colour starts to turn golden. Gently turn the dough over and place the pan in the oven. Bake for ten minutes.
9. Remove the pan from the oven and check to see if they are baked through to the centre. The muffins should sound hollow when tapped. If they sound or feel dull then place them back in the oven.
10. After the muffins are baked in the oven you can return them to the heat on the hob to improve the crust colour if needed.
11. Leave the English muffins to cool completely before eating.
How to eat an English muffin
Purists would say that the muffin shouldn’t be cut with a knife, it should be split. A fork is pushed from the side through to the centre, pulled out, moved around a couple of centimetres, and then repeated until you have done it around the entire circumference. The muffin is easy to pull apart and leaves a rough texture on the crumb. But I won't tell anyone if you cut it ;)
One of my favourite ways to eat an English muffin is to cut it in half and toast it, cover it in butter and whatever jam I have to hand. But these make fantastic sandwiches too, as a kid, we had cheese and tomato sandwiches in the summer when tomatoes were in season. That’s a memory that’s stuck with me to this day.
If you enjoyed this blog and would like to support ongoing content creation and help keep the website ad-free, you can click below to make a contribution.
As an Amazon Affiliate, I may earn a commission from qualifying purchases
How to make sourdough English muffins
As an Amazon affiliate, I earn from qualifying purchases