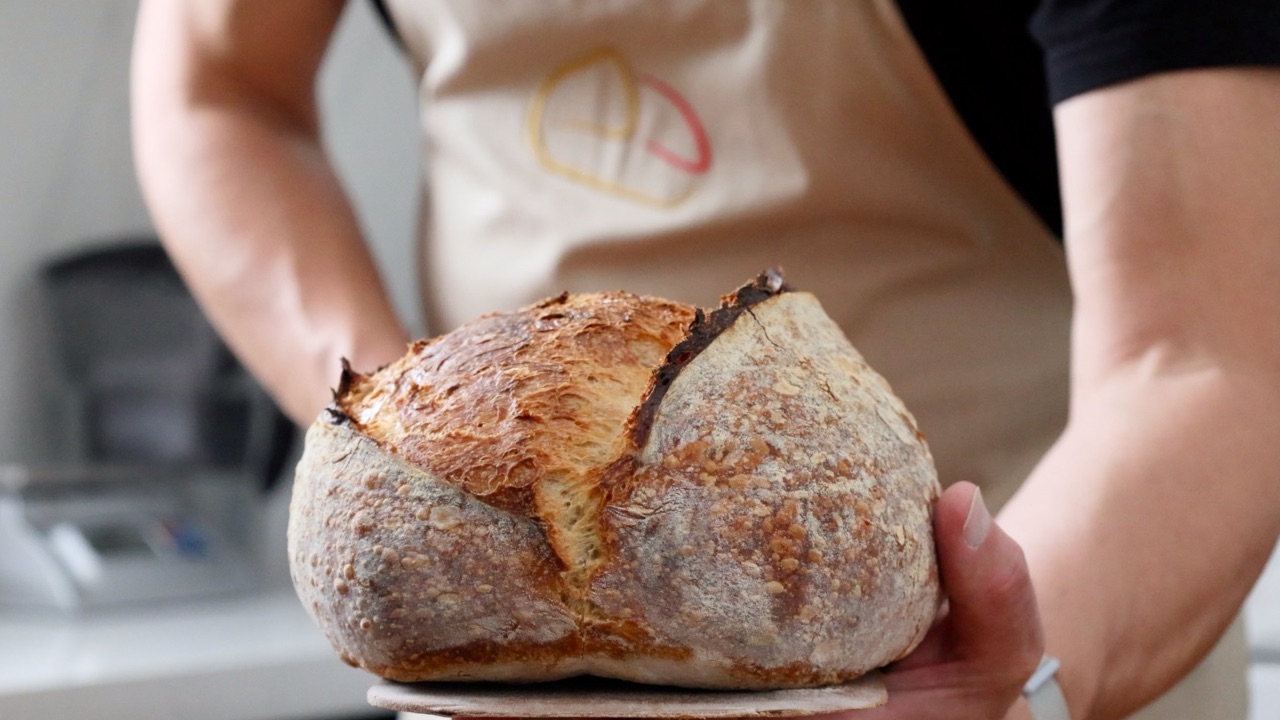
Malted Sourdough Milk Bread

This malted sourdough milk bread has all of the amazing characteristics of sourdough while being super soft, which makes this recipe perfect for a sandwich loaf.
The classic combination of milk, malted barley and honey delivers a flavour profile which is hard to beat.
If you’ve been searching for a soft alternative to classic sourdough, then this is the recipe for you. Below you’ll find advice on equipment and ingredients to help you get the most out of this recipe.
Quick Navigation
- Important Equipment
- Recipe vitals
- Ingredient substitutions
- Baking timeline
- The recipe
- Watch the video tutorial
- Quick reference printable recipe
Equipment
You’ll need an accurate set of kitchen scales that weigh in one-gram increments. I’ve been using the My Weigh KD8000 for years, and I highly recommend it for bread baking.
I grind the malted barley using my home mill, then pass it through a 60-mesh sieve to remove the coarser particles. If you don’t have a mill, a spice grinder works just as well. Alternatively, you can buy ready-to-use malted barley powder (non-diastatic).
You’ll need a bread tin for this recipe. I use nonstick tins measuring twenty-one centimetres long by ten centimetres wide by eleven centimetres high, and I’ve been using the same style for years. You can see the ones I use here in my baking kit.
Recipe Vitals & bakers percentages
This recipe produces a dough weight of 900g, which results in a baked loaf that weighs approximately 840g.
The flour blend is made up of 85% strong white bread flour (protein content 13.2%), 10% stoneground whole-wheat flour and 5% malted barley flour (non-diastatic).
The dough is 82% hydrated, but as the milk contains solids in the form of fat, the dough will be relatively easy to handle. It’s worth remembering that different flour has different absorption capabilities. If at the end of the process, your dough feels too dry or too sticky, you can adjust the hydration the next time you bake.
This formula calls for 5% honey and 2% salt and uses 30% of sourdough levain to inoculate the dough.
Every home baker should be prepared to tweak recipe formulas to suit their flour/ingredients and climate. The easiest and quickest way to do this is by using a recipe calculator. My free beginner’s calculator will make the process quick and easy while improving your results.
Ingredient substitutions
Malted barley
I buy my malted grains online and then mill them at home. You can find a great range of malted products from online beer suppliers which opens up a world of flavour to the home baker. For this recipe, I grind the malted barley finely and use a 60-mesh sieve to remove larger particles from the flour. Sifting the flour isn’t necessary so don’t worry if you don’t have a sieve.
You could also buy ready-to-go malted barley powder. For this recipe, it is important to choose non-diastatic malted barley.
Milk
The recipe calls for milk with a fat content of 3.5% which helps to produce a soft loaf. You can substitute cow’s milk for a plant-based option like almond milk. This will affect the flavour profile and the product may not be quite as soft. But. It will still taste amazing!
Honey
The honey pairs perfectly with the milk and malted barley to produce an outstanding flavour profile in the final product. You could substitute the honey for an equal weight of sugar but again, expect a slightly different flavour profile.
The baking timeline
The timeline is based on a kitchen temperature of 25°C/77°F. Your timeline will be affected by cooler or warmer temperatures.
Day 1:
21:00 Mix the sourdough levain
Day 2:
09:00 Mix the dough
10:00 Quick knead on the bench
11:00 Laminate or stretch the dough
16:00 Shape and place the dough in the tin
19:00 Retard the dough in the fridge
Day 3:
09:00 Bake
09:40 Leave to cool
Total time: 36h 40m
Hands-on time: 1h
Sourdough Milk Bread with Malted Barley
Sourdough Levain
Our recipe calls for 143g of sourdough levain. We are going to make a little more than is needed. This will account for weight lost during fermentation and give us a little left over to seed our next levain.
80g Strong white bread flour
80g Water
8g Sourdough starter
168g total
1. Add all of the ingredients to a jar and mix well with a spoon. Pop the lid on the jar and leave to ferment overnight at ambient temperature. Make sure your jar is large enough to accommodate the mixture quadrupling in size.
The dough
333g Strong white bread flour
48g Wholewheat flour
24g Malted barley flour/powder (non-diastatic)
319g Milk (3.5% fat content)
10g Salt
24g Honey
143g Active, bubbly sourdough levain (from above)
900g total
1. If you are milling or grinding your malted barley at home you can choose either a coarse or fine grind. Either will work well, with the latter producing a little more visual and textural interest. After milling the flour set it to one side until needed.
2. In a large mixing bowl combine 319g of milk and 10g of salt and stir to make sure the salt is dissolved.
Baker’s tip: In this recipe, the milk is cold and used directly from the fridge. You could speed the fermentation period up a little by warming the milk to 25°C-30°C (77°F-86°F).
3. To the mixing bowl add 24g of malted barley, 48g of wholewheat flour, 24g of honey and 143g of active bubbly sourdough levain. Using a spoon, mix the ingredients to distribute the honey and levain through the mixture.
4. Add 333g of strong white bread flour to the bowl and bring the mixture together into a rough dough. It doesn’t need to be smooth but you need to make sure there are no dry pockets of flour. Cover with a lid and leave it to rest at room temperature for one hour.
5. Turn the dough out onto the work surface and use the heel of your hand to gently work the dough to complete the mixing. This should only take about one to two minutes. Shape the dough into a ball using your bench scraper and place it back into the bowl. Cover and leave to rest once more at room temperature.
Baker’s tip: The dough may feel a little sticky at this stage so try to use a light touch when working with it. Don't worry, the flour will continue to absorb the liquid over the next few hours resulting in a dough that is easier to handle. It’s worth remembering that different flour has different absorption capabilities. If at the end of the process, your dough feels too dry or too sticky you can adjust the hydration the next time you bake.
6. Turn the dough out onto your work surface and gently stretch it into a rectangle. Fold the dough up into a parcel and shape it into a ball. Place the dough back into the bowl, cover it and leave it to finish its bulk fermentation at room temperature. (See the video below for a guide to this step).
7. Once the dough increases in volume by 75% it is ready to shape. Lightly dust the top of the dough with flour and gently turn it out onto your worktop so the floured surface is facing down. Gently ease the dough out into a circle. Using your fingers, gently press down onto the dough to slightly de-gas and even out the dough. Fold the two sides of the dough into the centre and then roll the dough up into a cylinder. Seal the joint where the dough meets and use a bench scraper to complete the shaping. (See the video below for a guide to this step).
Baker’s tip: Judging bulk fermentation by eye alone is one of the hardest parts of sourdough baking. If you want a clearer, more reliable way to know when bulk is actually complete, you can read more about how I approach it here:
See how I track bulk fermentation accurately
8. Rub your baking tin lightly with olive oil and place the dough into the tin with the seam side facing down. Cover with a plastic bag and leave to proof at room temperature.
9. Once the dough has increased in volume by about 80% you can place it into the fridge to cold-proof overnight. Make sure your dough is well covered by the plastic bag.
10. The next day, about 30 minutes before you bake, preheat your oven to 200°C/390°F. I use the bake setting on my oven, which delivers heat via the top and bottom elements without using the fan.
11. Once the oven has pre-heated, remove the dough from the fridge. If you discover any bubbles on the top of the dough, make sure you gently pop them to ensure an even bake and crust colour.
12. Slide the baking tin directly onto the bottom oven shelf. Place an inverted baking tray above the tin to protect the top of the dough from direct heat. Leave to bake for 30 minutes at 200°C/390°F. After 30 minutes, remove the tray protecting the top of the loaf and continue to bake at the same temperature until the crust has a deep golden brown colour.
Baker’s tip: My total bake time was 40 minutes but be prepared to adjust your bake time if necessary. It’s worth remembering that oven temperatures vary and following my times blindly may not produce the best outcome. Trust your eyes and adjust the baking time by continually assessing the loaf. You can use a temperature probe to check the internal temperature. Once it hits 98°C/208°F the inside will be baked but you also want to make sure the crust is coloured properly too.
13. Leave to cool completely before slicing and eating!
Watch the video tutorial
Quick reference recipe