The SECRET to Baking Sourdough WITHOUT a Starter

I’ve always been fascinated by how simple the sourdough process can really be. Sourdough Culture, a book by Eric Pallant, inspired me to experiment with this process. So I owe a big thank you to Eric for my journey with this method of baking.
So what’s different?
For many years I used a somewhat classical approach to maintain my sourdough culture. I fed a starter daily and created offshoot levains for use in my sourdough.
More recently I’ve adopted the scraping method which has hugely simplified my baking and produces great results. The method in this recipe relies on using an offshoot piece of dough saved from a previous baking session to inoculate the next dough.
I’ve been using this exact method for the last thirty days and I haven’t fed a starter once or created a levain.
There is something that feels extremely pure when you use this method to bake sourdough and I’d encourage you to give it a go. If not for anything else, for expanding your repertoire and challenging the perception that we need to baby a sourdough starter to achieve great results.
The Recipe Vitals & Baker’s Percentages
Quick Reference Printable Recipe Card
The Recipe Vitals & Baker’s Percentages
This recipe uses 90% Strong white bread flour and I’ve used 10% home-milled whole-wheat, but you can easily swap this for store-bought.
The hydration is 76% and I use 20% of offshoot dough from the previous day's bake to inoculate the dough.
The total dough weight is 950 grams but 125 grams of offshoot dough is removed and saved to inoculate the next dough.

The Baking Timeline
The timeline is based on a kitchen temperature of 25C/77F. Your timeline will be affected by cooler or warmer temperatures. See the section below.
Day 1:
23:00 Take the old dough out of the fridge
Day 2:
9:00 Mix the dough
9:30 Quick knead
10:30 Laminate and remove dough
15:00 Pre-shape
15:20 Shape & proof
16:20 Cold proof in the fridge
Day 3:
08:00 Bake
08:45 Leave to cool
Total time: 24 hours
Hands-on time: 45 minutes depending on experience
Adjusting for Temperature
Warmer kitchens
The higher your kitchen temperature the faster the fermentation process will happen for both the levain and the sourdough.
The dough will also be warmer, making it feel softer, and in hot conditions, it may be stickier and possibly more difficult to handle.
To combat problems that may occur in warmer temperatures you can reduce the hydration a little to stiffen the dough.
You can mix your dough to a lower temperature, and use a cool box or cool bag with an ice brick to regulate the temperature during fermentation and slow the process down.
Decreasing the amount of sourdough starter you use to inoculate the levain and the amount of levain you use to inoculate your dough, will slow the process down.
Cooler kitchens
The opposite may occur, your dough may feel stiffer and the fermentation process will take longer. I think this is easier to adjust for than a warmer scenario.
In really low temperatures the process can grind along at a snail's pace or stall. In these circumstances, you can mix your dough to a warmer temperature, and keep your dough somewhere warmer to ferment.
If your dough feels stiffer, you may want to increase the hydration touch.
Increasing the amount of sourdough starter you use to inoculate the levain and the amount of levain you use to inoculate your dough, will speed the process up.
In either case, in a warm or cool kitchen, bake the recipe as detailed the first time, keep my suggestions in mind and make alterations on the second bake.
Don’t forget that there are several factors to consider when adjusting hydration. Using a sourdough calculator is the easiest and most accurate way to do it.
You are welcome to use my recipe calculator (it’s completely free).
Baker’s tips
Here are the key takeaways I learned by using this method for 30 days straight.
You need to make sure the dough is extremely well-mixed. Otherwise, when you remove the offshoot dough for the next day's bake it may not be fully inoculated.
My results skyrocketed when I left the main dough to ferment for an hour and a half before removing the offshoot dough for the next day's bake.
With these two posts in mind, I discovered that the best time for me to split the dough was after the first lamination an hour and a half into the process.
It takes a while for the fermentation to get used to its new schedule. Remember, our starter and levain don’t include salt, but the offshoot dough does.
For example, during the first week, the offshoot dough took about 16 hours to ferment and be ready to use. Now it’s found a rhythm, it takes about 8 hours after removing it from the fridge.
Be patient and stick with it.
You don’t need to bake every day for this method to work. On the first day that I used this method, I removed an extra sample piece of dough. I kept it in the fridge for seven days before removing it. It still fermented with no problems. Just remember what I said above. It takes a while for the fermentation to find a rhythm.
For some reason, after the cold-proof in the fridge, the dough is a little stickier than normal. I found that I needed to carefully release it from the proofing basket before turning it out.
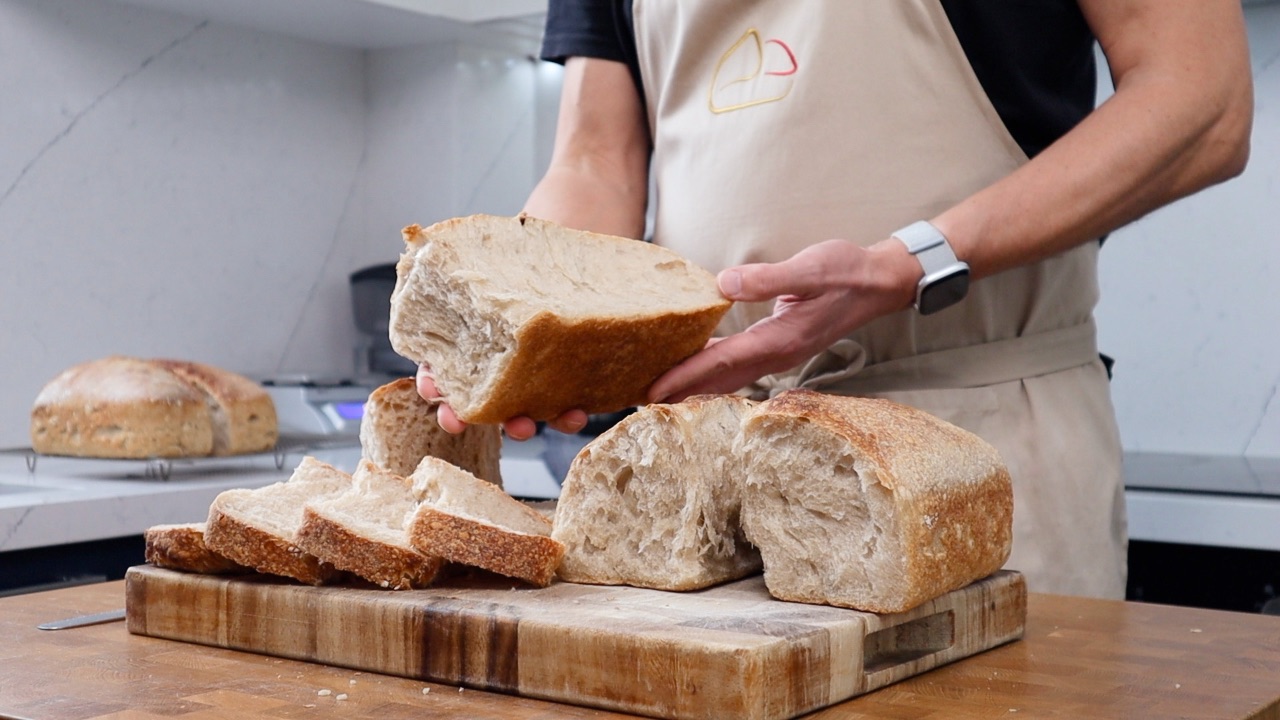
During the first several days using this method, the resulting crumb was quite tight. After the fermentation found its rhythm, it became more open-textured.
I couldn’t detect any difference in the taste or the texture of the sourdough. This is a fantastic method and great fun to experiment with. Just remember, that like every new thing we try, it takes time for us and our sourdough culture to adapt!
The Recipe
What comes first, the chicken or the egg? The same question exists with this system of baking sourdough. You will need to save yourself 125g of dough from a previous baking session (we’ll call that the offshoot dough).
Ingredients
421g Strong white bread flour
54g Wholewheat flour
361g Water
7g Salt
107g Offshoot dough from a previous bake (fermented and ready to rock and roll)
Mixing the dough
1. In a mixing bowl dissolve 7g of salt into 360g of water by stirring with a spoon.
2. In a separate bowl, blend together 421g of strong white bread flour and 54g of wholewheat flour.
3. Add the flour to the bowl with the salted water followed by the 107g of offshoot dough.
4. Use a spoon to bring the mixture together and when it becomes stiff you can use your fingers to pinch the dough together. Don't worry about creating a smooth dough at this point, just make sure all the ingredients are well mixed and there aren’t any dry spots of flour.
5. Cover the bowl and leave to rest at room temperature for thirty minutes.
6. After the dough has rested turn it out onto your work surface. Using the heel of your hand knead the dough thoroughly. We aren’t worried about kneading to build strength, the goal is to make sure the offshoot dough has been mixed thoroughly.
Baker’s tip: Resist the urge to dust your worktop with flour but if you find the dough sticky to work with, you can spray the worktop and your hands with a touch of water.
7. Shape the dough into a ball and place it back into the bowl. Cover and leave to rest at room temperature for one hour.
Lamination
8. After the dough has rested for one hour turn it out onto your worktop (don’t dust it with flour). Gently pull the dough out thinly into the shape of a rectangle. Try not to tear the dough, when you feel the dough resists move on and stretch another piece of dough.
9. Fold the dough up into a square. Now remove 125g and place it in a large jar, this will be the next offshoot dough. Place the jar in the fridge and leave until you are ready for the next baking session. Remember to remove the offshoot dough from the fridge to complete its fermentation before adding it to the next dough.
10. Shape the main piece of dough into a ball and place it back into the bowl. Cover and leave to bulk ferment at room temperature.
Baker’s tip: Watch the video tutorial below to see an in-depth guide on how to laminate the dough.
Shaping the dough and proofing
11. Your dough is ready to move on to the shaping and proofing stage when your dough has increased volume by 75% to 100%. My dough took six hours to double in size at 25C/77F.
12. Lightly dust the top of the dough with flour and gently turn it out onto your worktop. Pre-shape the dough by stretching it out into a rectangle and shaping gently into a ball while creating tension in the dough. Leave it to rest uncovered on your worktop for 20 minutes.
13. Dust the top of the dough and flip it over. Fold the top of the dough over the centre and repeat with the bottom. Rotate the dough 90 degrees and gently even out the dough by pressing with your fingers. Now roll the dough up and seal the joint. Tuck in the ends and press the dough together to seal. Give the dough a bath in rice flour and place it in a proofing basket with the seam facing up. Place the basket of dough in a bag and leave it to proof at room temperature.
Baker’s tip: watch the video tutorial below to see an in-depth guide on how to shape the dough.
14. After the dough has sufficiently proofed you can place it in the fridge to rest overnight.
Baking the loaf
15. The next day I preheat my oven and baking stone to 220C/430F. You can use a Dutch oven or a baking pan to achieve the same result.
16. Dust the top of the dough and gently turn it out of the proofing basket onto a peel or a piece of parchment paper. Score the dough with a bread lame and slide it onto the baking stone. Cover with a large pot and bake for 20 minutes and then uncover it for the final 25 minutes of baking.
17. Leave the dough to cool before slicing.