How I Bake Sourdough Bread Every Day In LESS Than 30 Minutes
I’m not sure about you, but my life can get pretty busy. I have a family and my five-year-old keeps me extremely busy (and extremely happy!). I also have plenty of work commitments.
I enjoy investing time into my sourdough baking and work hard to perfect my loaves as much as possible. This can often involve tight schedules and complicated processes. In this article, I'll explain how to make a sourdough loaf with less than 30 minutes of hands-on time.
While we can't squeeze the entire sourdough process into 30 minutes, it takes 40 minutes to bake the loaf! But, we can reduce the time we are working with the sourdough to less than 30 minutes. The key is to schedule your fermentation times for while you are doing something else, working or sleeping.
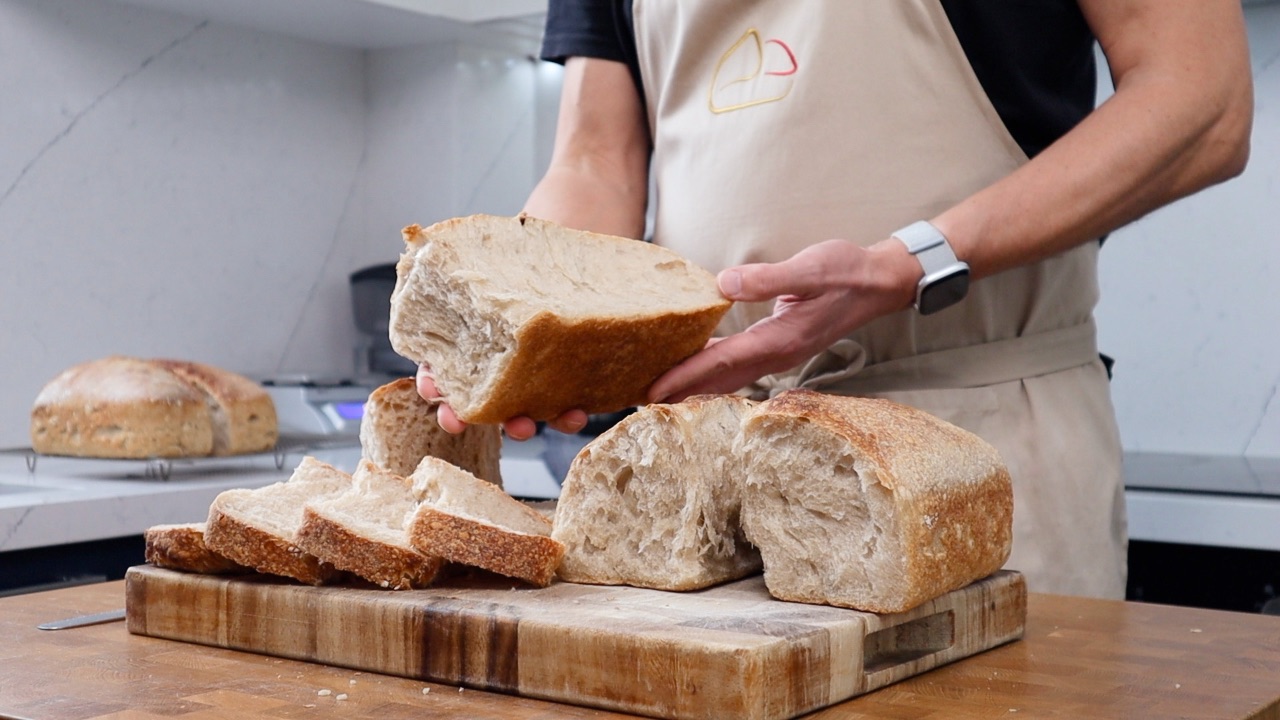
This recipe sits somewhere between a no-knead sourdough and a recipe with an autolyse and several sets of stretch and folds. The dough is easy to manage and the bread has great flavour, beautiful crumb, and looks damn good too.
You’ll find my YouTube video link below that shows the process from start to finish. You’ll find the recipe at the end of the article.
Feeding the starter, Monday evening
It all starts around 21:00 while I’m making dinner. I take my sourdough feeding jar from the side and get ready to feed it.
I’ve adopted a technique that Jack is using on his baking channel “Bake With Jack”. He uses the scrapings left in his jar to feed his sourdough starter.
So armed with my virtually empty jar I grab my scales and add 55 grams of room temperature water and 55 grams of strong white bread flour.
As there is very little starter to get the fermentation going the starter will be ready to use the next morning when I get up. After a few test runs, I was able to work out exactly how long the process takes for my current kitchen temperature.
The process will need tweaking as the weather warms up and we approach spring. I may use a cool box to regulate the temperature so the fermentation doesn’t go too fast.
Early start Tuesday morning
I need to be out of the house to take my daughter to the school bus at 7:20. So at 06:30 after crawling out of bed and before I make her breakfast, I mix the ingredients for the main dough.
This sits out for a 10-minute rest and then gets a quick knead for about a minute.
At 7:10 I turn the dough out and give it one major stretch and fold, or lamination before shaping it into a dough ball and placing it back in its bowl.
The dough sits out at room temperature for bulk fermentation. This takes about 6 hours which gives me plenty of time to get my daughter off to the bus and get my jobs done before returning home early afternoon.
If I know I’m going to be home later in the day I use less starter in the main dough which increases the bulk fermentation time.
I’ve experimented a lot to figure out how I can tweak the process to give me more or less time depending on my schedule.
Back at home in the afternoon
Around 13:15 I check in on the dough. By this time it has normally fermented and expanded to about 75% of its original size. If I’m busy this dough will be happy for about another hour.
The dough has a quick pre-shape and a little rest for 10 minutes. Now it’s as simple as shaping for the basket. I don’t use any complicated shaping methods for this dough. I roll it up, tucking in the ends as I go.
After a quick roll in rice flour, I place it in a dusted banneton. I leave the dough out at room temperature uncovered for about an hour and a half while I’m working in the office.
Once I can feel that the dough is expanding and feels springy it gets popped into the fridge. It sits there overnight uncovered until I’m ready to bake the next morning.
At 21:00, I feed the starter for tomorrow's dough.
Wednesday morning
At 06:30 I start the process again making the dough for the next loaf. I turn the oven on to pre-heat. When I get back from the school bus I remove the dough from the fridge, score it, and bake it from cold.
And that’s my routine for keeping the sourdough process going each day. Believe it or not, the process is quite forgiving and there is room for manoeuver.
The trick is to work out how long your dough takes to ferment at your kitchen temperature. Adjusting the amount of starter you use to inoculate the dough enables you to speed things up or slow them down.
My free sourdough calculator will help you easily and quickly adjust the amount of starter you use in your recipe while maintaining the correct hydration and adjusting the other ingredients for you.
I'm working on a fermentation time chart at the moment which will help you plan your baking schedule, once it's complete it will be added to the sourdough calculator, so make sure to download it.
Add my free sourdough calculator to your baking tool kit.
Getting organised before you bake
When you’re busy, plan your bake around that. Look at the parts of the day when you’re unavailable and design your fermentation to fit. The fridge is your safety net. Slowing fermentation gives you flexibility and lets the process work for you, not against you. I dialled in my own baking schedule over several bakes, making small adjustments each time.
If you’re new to baking, check your cupboards before you start and make sure you have the basics.
Digital scales are essential. Make sure they measure in grams. Weighing ingredients is far more accurate than measuring by volume and is key to consistent results.
A proofing basket is useful for the final proof. I prefer an oval basket sized for around seven hundred and fifty grams of dough.
A bench scraper is inexpensive and invaluable for handling dough. A bowl scraper can also be useful, particularly for mixing and folding.
For scoring, a razor blade works, but a proper bread lame is safer and easier to keep track of.
If you’re unsure what you need, I’ve listed the core tools I use on my baking kit page.
Times & temperatures
My kitchen temperature: 18c / 65f
Oven temperature: 220c / 430f
Oven setting: Bake mode (top & bottom heat with the fan turned off) with a baking stone pre-heated
Bake time: 50 minutes (first 20 minutes covered with a pot)
Recipe & Method
The Starter (100% hydrated)
Starter (100% hydrated)
Scrapings from the jar
55g Water
55g Flour
Main Dough
388g strong white bread flour
257g water
8g salt
98g starter
1. I feed my starter at 21:00 ready for the next day.
2. The next morning I add the water to a bowl and roughly dissolve the starter into it. It doesn’t need to be completely dissolved, a few bits are absolutely fine. I add the salt, give everything another quick stir before adding the flour.
I mix with a spoon again before bringing everything together into a rough dough with my hand. The dough doesn’t need to be smooth but I make sure there are no pockets of dry flour or flaky dough.
The dough has a 10-minute rest covered in the bowl, and then a 1 minute knead. After a 30-minute rest covered at room temperature, I turn the dough out and perform one set of stretch and folds (one giant lamination). I mist the worktop with water to stop the dough from sticking.
Shape the dough into a ball and leave it out, covered at room temperature to bulk ferment.
3. About six hours later the dough has expanded by about 75% of its original size, I turn the dough out onto the work surface and give it a quick pre-shape.
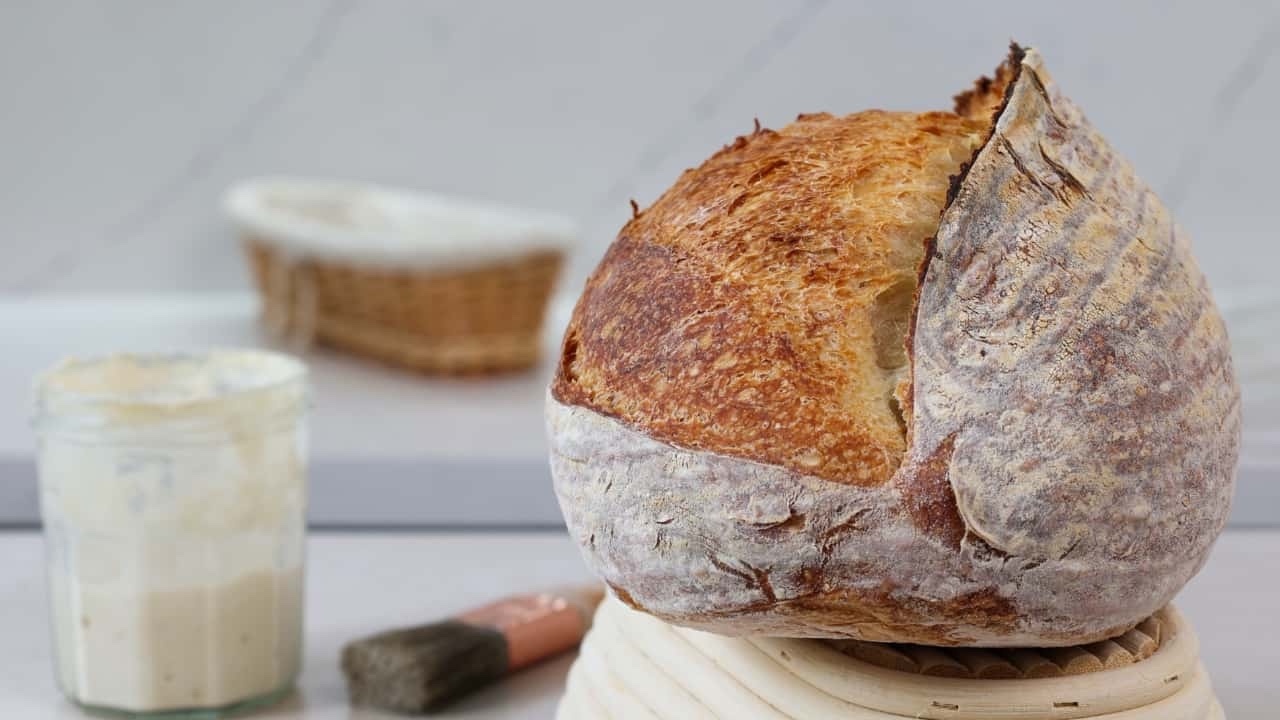
After a ten-minute rest uncovered, I lightly dust the banneton and top of the dough with rice flour. The dough is shaped simply into a cylindrical piece of dough and the seam is squeezed together.
I place the dough into the banneton with the seam facing upwards. It sits out at room temperature for an hour and a half uncovered.
4. Once the dough is expanding and feels springy I pop it in the fridge uncovered to ferment overnight.
5. The next morning I score the dough and bake it on a baking stone in an oven that has been pre-heated to 220c / 430f.
The bread is baked covered with a large pot for the first 20 minutes and uncovered for a final 30 minutes. I don’t use any ice or water to create steam for this loaf. It bakes just fine without it.
Baker’s tip: Oven spring is often treated as something to fix at the end of the bake, but it’s usually determined much earlier in the process. If your loaves aren’t springing as expected, it can help to understand what actually creates oven spring and where things tend to go off track:
See what really drives oven spring (before the dough goes in the oven)