The Fail-Safe: Quick Easy Beginners Sourdough

I've designed the fail-safe beginner's recipe to relive most of the stress and ensure you have a fun time baking your first few loaves! This recipe is designed to be baked in a tin which means no problems trying to perfectly shape your dough, no issues with the dough sticking to your proofing basket and no issues with dough deflating before your eyes.
The baking tin will help support the dough throughout the final stages of the process while you concentrate on the fermentation process! And the best bit? Well, this recipe uses the same measurements and weight of dough that you'll use when you move on to proofing your sourdough in basket. So, you'll be gaining all of the experience need to move on to the next level.
And when you are ready, I suggest my Sourdough System Reboot Recipe as it's designed to make the dough easy to handle for shaping and proofing in a basket.
The recipe vitals & baker's percentages
Using 90% strong white bread flour, 10% wholewheat flour and 70% hydration, produces a wonderfully soft and supple dough that isn't at all sticky. If the flour you use isn't quite as thirsty as mine and you find your dough becomes a little sticky, you can always reduce the hydration slightly.
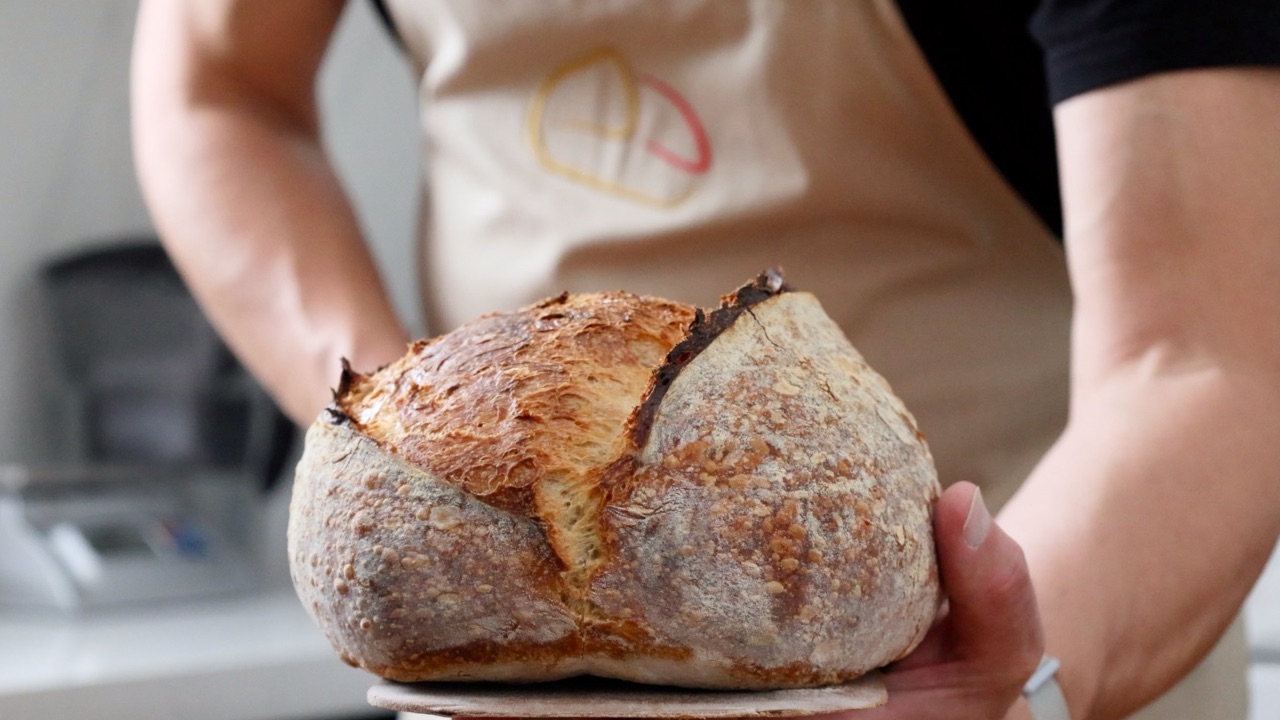
The dough produced by this recipe weighs approximately 800g and once baked produces a loaf that weighs approximately 700g.

The Baking Timeline
The timeline is based on a kitchen temperature of 24C/75F. Your timeline will be affected by cooler or warmer temperatures.
Day 1:
22:00 Mix the levain
Day 2:
10:00 Mix the dough
10:30 The dough gets a quick knead
11:30 Laminate the dough
16:00 Pre-shape the dough
16:20 Complete the shaping and begin proofing
18:20 Cold proof in the fridge overnight
Day 3
08:00 Bake the loaf
08:45 Leave to cool
Total time: 34h 45m
Hands-on time: 45m (approximate depending on experience)
Adjusting for Temperature
Warmer kitchens
The higher your kitchen temperature the faster the fermentation process will happen for both the levain and the sourdough.
The dough will also be warmer which will makes the dough feel softer, and in hot conditions, it may be stickier and possibly more difficult to handle.
To combat problems that may occur in warmer temperatures you can reduce the hydration a little to stiffen the dough.
You can mix your dough to a lower temperature, and use a cool box or cool bag with an ice brick to regulate the temperature during fermentation and slow the process down.
Decreasing the amount of sourdough starter you use to inoculate the levain and the amount of levain you use to inoculate your dough, will slow the process down.
Cooler kitchens
The opposite may occur, your dough may feel stiffer and the fermentation process will take longer. I think this is easier to adjust for than a warmer scenario.
In really low temperatures the process can grind along at a snail's pace or stall. In these circumstances, you can mix your dough to a warmer temperature, and keep your dough somewhere warmer to ferment.
If your dough feels stiffer you may want to increase the hydration touch.
Increasing the amount of sourdough starter you use to inoculate the levain and the amount of levain you use to inoculate your dough, will speed the process up.
In either case, in a warm or cool kitchen, bake the recipe as detailed the first time, keep my suggestions in mind and make alterations on the second bake.
Don’t forget that there are several factors to consider when adjusting hydration. Using a sourdough calculator is the easiest and most accurate way to do it.
You are welcome to use my recipe calculator (it’s completely free).
The Equipment You’ll Need
A good set of digital scales is essential for weighing the ingredients accurately. I am using a pullman bread tin to bake the loaf in. I've been using these Chef Made baking tins (19.2cm x 10.2cm x 12.2cm) for the last three years and they are my go to baking tins.
A bowl scraper and bench scraper aren’t essential but they are great for moving the dough around and cleaning up properly cutting down on wastage.
A decent thermometer should be included in every home baker's kit. The Thermapen is the most accurate and reliable thermometer I have used.
I use a baking stone for baking my sourdough but you can bake the loaf on the oven shelf, I'll leave directions in the method.
As an Amazon Associate I earn from qualifying purchases.
The Fail-Safe Recipe
Making the levain
The recipe calls for 93g of ripe sourdough levain but we are going to make a little more than we need. That will account for any natural weight loss that occurs during the fermentation period, and any levain that gets stuck to the jar.
I use 10% of sourdough starter to inoculate my levain. At 25C/77F it takes 12 hours to ferment which means I can leave it overnight and it’s ready to use the next morning.
You can adjust the inoculation percentage to suit your own schedule and ambient temperature.
50g Strong white bread flour
50g Water (room temperature)
5g Sourdough starter
Mix all of the ingredients together to form a rough pasty dough. I ferment the levain in a glass jar that’s big enough to accommodate the mixture expanding by 3-4 times.
I cover the jar loosely with a lid.
Making the dough & baking
372g Strong white bread flour
47g Wholewheat flour
279g Water
9g Salt
93g Ripe sourdough levain (from the above recipe)
Mixing the dough
Baker’s tip: For this amount of dough, I would suggest using a 2.5L - 3.0L mixing bowl. If your bowl is too large it becomes difficult to see how much the dough is increasing in volume during the fermentation stage because the dough gets lost in the bowl!
1. Weigh 279g of room temperature water into your bowl followed by 9g of salt. Stir the water until the salt dissolves.
2. In a separate bowl add 372g of strong white bread flour and 47g of wholewheat flour. Blend the two flours together. Now add half of this flour mix to the water.
3. Use a spoon to blend the flour into the water and create a rough porridgy consistency (it doesn’t need to be smooth). Now weigh 93g of ripe sourdough levain into the porridgy mixture. Use a spoon to blend the mixture together making sure the levain is well distributed.
Baker’s tip: Adding half the flour before the levain creates the perfect consistency to be able to mix the levain thoroughly and easily.
4. Now add the remainder of the flour to the dough. Bring it together with a spoon before finishing the mixing by pinching the dough together with your fingers. The dough doesn’t need to be smooth at this stage but make sure there aren’t any pockets of dry flour.
5. Cover the bowl and leave it at room temperature to rest for 30 minutes.
6. After the dough has rested, turn it out onto your worktop. Using the heel of your hand work the dough down into the worktop. Continue to work the dough until it is smooth. The aim of this session is to make sure the dough is properly mixed.
Baker’s tip: Resist the urge to use flour but if you find the dough sticky to work with, you can spray the worktop and your hands with a touch of water.
7. Shape the dough into a ball and place it back into the mixing bowl. Cover with a lid and leave to bulk ferment.
Lamination
8. After an hour has passed turn the dough out onto your work surface again (do not use any flour to dust, but you can use a light spray of water). Gently pull the dough out into a rectangle. Don't tear the dough, when it resists you can stop pulling. (Make sure to watch the video tutorial).
9. Fold the dough into a small square and then shape the dough into a ball. Place it back into the bowl, cover and leave it to complete the bulk fermentation. This will be complete when the dough has increased in volume by about 75%, smells pleasantly sour and fruity and feels nice and puffy but stable. (Make sure to watch the video tutorial).
Shaping the dough & proofing
10. My dough took 6 hours at 25C/77F to bulk ferment. Lightly dust the top of the dough with flour and gently ease it out from the bowl onto the worktop. Without degassing the dough gently pull the sides out to spread it into a circle. Now fold the edges of the circle inwards, flip the dough over and gently form it into a loose ball. Leave on the worktop uncovered for 15-20 minutes.
11. Lightly dust the top of the dough with flour again and flip it over on the worktop. Gently pull out the two sides of the dough and fold them over the centre. Take the edge of the dough that’s furthest away from you and roll the dough up into a cylindrical shape that will fit in your baking tin. Try to keep the dough taut as you roll. Press the joining seam together with your fingers.
12. Place the dough with its seam facing down into a bread tin. Cover and leave to proof for 2-2.5 hours.
Baker’s tip: I always rub my tins with a little olive oil. Even if they are non-stick.
13. The dough will have finished proofing at room temperature when it has expanded up the sides of the bread tin and feels puffy and airy but strong. (Make sure to watch the video tutorial).
14. You can bake the loaf now but I prefer to cover the dough in the tin and leave it in the fridge overnight.
Baking the loaf
15. The next day I place my baking stone on the lower third shelf of the oven and preheat it to 220C/430F. I place an upturned baking tray on the highest oven shelf. This protects the top of the loaf during the first part of the baking.
16. I slide the loaf tin onto the baking stone and bake it for 35 minutes before removing the baking tray from the top. I continue to bake at the same temperature for another 15 minutes until the top of the loaf is nicely covered.
17. Remove the loaf from the tin immediately and leave it to cool before slicing.
Baker’s tip: You don’t need to use a baking stone but you will need to extend the baking time a little. Make sure to use a thermometer to check the internal temperature to make sure it’s baked properly. I make sure my loaves are baked to an internal temperature of 97C/205F.