Why Is My Bread Dough So Sticky?
Have you experienced sticky dough while making sourdough or bread made with commercial yeast?
If you have, then you are in the right place. This can be a real “sticking” point for new home bakers.
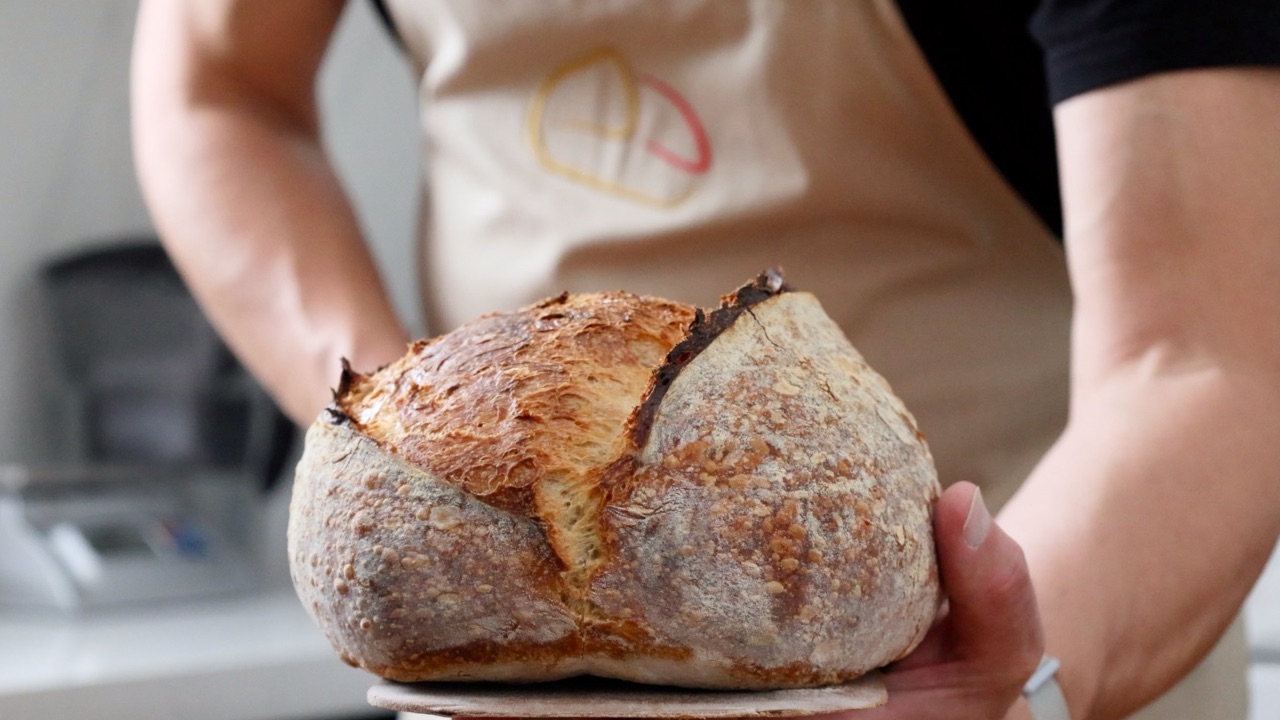
This article is designed to help newbie bakers. Mostly, those who want to create a dough that’s easy to work with and produces a “country” style loaf.
I’ll be focussing on wheat flour in this article, as that’s where most people begin their baking journey.
Once you’ve got your first few loaves nailed down, you can begin to explore bread dough made with different flour and wetter doughs.
Why is my dough so sticky?
Your dough can become sticky when you add too much water or the flour isn’t suitable for the type of dough you are making. Over proofing or fermenting the dough can also result in the gluten structure weakening causing sticky dough.
Sticky dough isn’t necessarily a bad thing, although I appreciate how frustrating it is for a new baker.
There are a few different forces at play here. If you don’t read any further then I hope this one takeaway helps you out.
Simply put: “Not all flour is created equal”
The most frequent comment I get from new bakers is that they end up with a puddle of dough on their bench. The dough doesn’t have any strength and is impossible to handle.
My first piece of advice is to check the type of flour that you are using. A good starting point is to choose a flour that’s been produced specifically for bread baking.
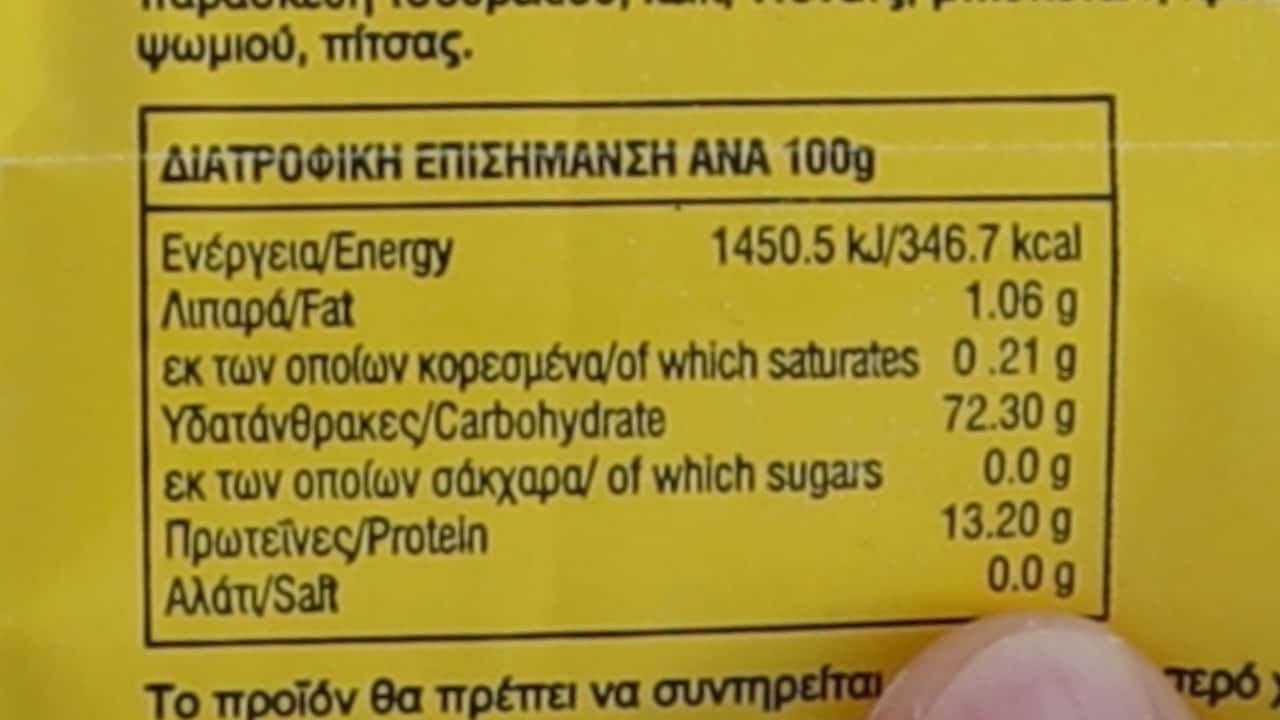
The chances are, that the flour will be labelled “bread” or ‘strong” flour. There are exceptions to this. My favourite everyday bread flour here in Greece is an all-purpose flour produced by Robin Hood. But, crucially it has a protein content of 13.2%.
Bread or strong flours have a higher protein content. Using flour with a protein content of 12% and above will help the dough build strength making it easier for you to handle.
Just remember, wholewheat flour is less processed and may not build the same gluten structure as white flour with the same protein content. More on that to come…
How do I know how much protein my flour has?
The protein content on the bag of flour is normally shown in grams of protein per 100 grams of flour. That’s easy for us to translate into a percentage. For example, 12g of protein in 100g of flour equals 12%.
If your protein content is given in a different quantity then you can use the following equation to work it out:
Example: 6.5g protein per 50g flour.
6.5 (protein in grams) / 50 (flour in grams) x 100 = 13% protein content.
If for any reason you can’t identify the protein content of your flour then you can try the experiment I show you in the video.
Why is the protein content in flour so important?
The protein helps us build strength in the dough. This will make it easier to handle and stop the dough from flowing like a puddle over the work surface.
Two of the native proteins found in wheat flour are important for developing a strong gluten structure. When glutenin and gliadin come into contact with water the process of developing gluten begins. The longer they spend in contact with each other, the more the gluten structure develops.
The gluten structure is what makes the dough strong, enabling us to shape and control the dough during the bread-making process. It traps the gases produced through fermentation that lead to a great crumb. The higher the protein content of the flour, the more the potential it has to produce gluten.
The potential strength of the gluten structure is also impacted by the amount of processing the flour has gone through.
White flour with a protein content of 13% will develop a stronger gluten structure than a less processed wholewheat flour with the same protein content.
Why is this?
Wheat contains bran and germ which are effectively the “bits” you can see in wholewheat flour. The retained bran and germ add great flavour and nutrition. It also interferes with the strength of the gluten structure.
Don’t start hating on wholewheat flour just yet. In my opinion, it’s a really important ingredient in bread making. The flavour is incredible and it’s more nutritious than white flour. So, we just need to remember that it won’t build so much strength.
I hear you… “how do I make a strong dough with wholewheat flour?”
There are many loaves of bread made around the world that use predominately wholewheat flour. You can normally spot these on the bakery shelves. They are denser in texture, normally flatter, and darker in colour.
What these loaves may appear to lack, thanks to our “trendy” idea of bread, they more than make up for in flavour and nutrition.
If you are new to baking and want to include wholewheat flour in your bread baking, try blending wholewheat flour with a good strong white bread flour. You’ll benefit from the added flavour and nutrition of the wholewheat flour, and the strength of the white flour.
The gluten structure isn’t only important for handling the dough. It also plays an important role in the texture and taste of the final loaf.
Have you ever eaten chewy bread with a great crust? What about a hand-stretched pizza? These are normally the result of a dough made with a strong gluten structure.
Make sure you watch the video below to see how to test flour for baking bread.
If you are a beginner baker then choose a flour that's produced for baking bread. Ideally with a protein content of 12% and above.
And remember that while whole-wheat flour is higher in protein it won’t build as much strength, so consider blending it with a strong white flour.
Modernist Cuisine has a fantastic article on this:
Click here to read the Modernist Cuisine article.
Comparing doughs made with strong and soft flour
The main problem I bump into while talking to new bakers is working with sticky or unmanageable dough. I thought it would be helpful to show a comparison.
I made a sourdough using strong flour with 13.2% protein content and 70% hydration. I compared this to a sourdough made with soft flour with a protein content of 10.3% and 75% hydration.
The differences seem small right? Just a 2.9% difference in protein and a 5% difference in hydration.
Watch the following video to see the difference in the doughs. It is easy to understand how easy it is to wind up with a sticky dough.
You’ll also see how easy it is to create a dough that is a pleasure to handle.
What is hydration and how to make it work for you!
What is hydration? Simply put, it is the amount of water that we add to our dough to hydrate the flour.
It’s normally given as a percentage of the water to flour. A dough made with 500g of flour and 350g of water would be 70% hydration. (350 / 500 x 100 = 70)
Problems handling the dough normally occur when we’ve added more water than the flour can absorb, or we are capable of handling.
Practising working with higher hydration doughs builds experience and confidence. Don’t run before you can walk!
Sometimes when considering hydration we need to take into account other dry ingredients in the recipe (such as nuts and seeds).
Different flour has different absorption capabilities. This is influenced by the type of wheat, the amount of processing, the storage method and conditions, and the amount of moisture the flour retains at the point of baking.
Your climate and storage conditions could affect the amount of moisture that the flour retains.
The temperature and humidity in your kitchen will also influence the way the dough handles… that’s for a future video and article!
Of course, these may only make a small difference but they all come together to play a part in the way the flour hydrates and our dough behaves.
Now you should be able to understand why hydration isn’t as simple as following a recipe.
Our goal is to understand how much water the flour that we are working with can absorb comfortably. Secondly, and just as importantly, we should know what hydration we are comfortable working with.
Using a recipe calculator will be your best weapon in the battle to avoid sticky dough. Using a tool like this will help you quickly and easily adjust the hydration of your dough. They are also fantastic for introducing different flour into your recipe.
Add my free sourdough calculator to your baking tool kit.
Adjusting the hydration in other people's recipes to suit you
“Why is my dough so sticky? I followed the recipe EXACTLY!”
There is nothing more frustrating than following a recipe exactly… and ending up with a sticky mess that’s impossible to handle.
Once you’ve got to know your flour and hydration you can tweak other people's recipes to suit you.
This works best with simple bread recipes where the main ingredients are flour, water, salt, yeast or sourdough starter and possible sweeteners.
For example, let's say you’ve found your favourite flour to bake with, and you know that a 65% hydration is perfect for you to work with.
Let’s use Richard Bertinet’s white dough recipe as an example:
10g Yeast
500g of Strong Bread flour
10g Salt
350g Water
With a simple calculation we can work out what the hydration is:
350 (grams of water) / 500 (grams of flour) x 100 = 70
We now know that his recipe is 70% hydration. If we want to hit our target of 65% we need to work out how much water that would be.
500 (grams of flour) x 65% = 325
Now we know that we need to reduce the water by 25 grams to hit our hydration sweet spot. This is helpful to get an insight into a recipe before you bake it.
This little trick is really helpful for avoiding a big sticky mess. If someone has a great ciabatta recipe, and you do a quick calculation and see that it’s 90% hydration, you may want to avoid that one for a while.
I would say this. If the recipe has other dry ingredients such as nuts, seeds or dried fruits. Or perhaps wet ingredients such as eggs, then it’s a bit trickier to know how to adjust hydration.
In this case, I would bake the recipe as directed and then make adjustments on the next bake. I’m not a fan of trying to make adjustments halfway through recipes.
I believe strongly in committing yourself, and seeing the recipe through from start to finish. Then we can assess the results, making notes and adjustments for the next bake.
It’s worth mentioning that adjusting the hydration will change the crumb, texture and taste. But as a beginner, the first goal is to get used to working with a manageable dough. As we gain experience we can manipulate the hydration for different results.
Keeping a journal is a sure way to improve your baking
I’d strongly suggest keeping a baking journal. Use a book and a pen or pencil, not your phone. Chances are you’ll need to make some notes during the baking process and you’ll want to avoid sticky digits on phones or tablets.
I still use my baking journal. It’s especially useful when I'm experimenting with new recipes or techniques. I can write down the results and make notes on how I’ll adjust the recipe next time.
It’s just switched seasons from Summer to Autumn here in Greece. I recently noticed that my dough wasn’t behaving the same. I checked my journal from this time last year and could quickly see that the same thing happened. I could also see how I adjusted my sourdough recipe to work with the new season.
You’d be surprised how helpful this is.
Sometimes it’s better to do nothing…Rather than something...
Time is one of the most important ingredients in baking.
Fermentation times are quicker during summer. In the winter months, things may take a little longer. Learning to be patient and work with these changes is helpful.
We can also use time in our favour during the baking process. Have you ever made dough and tried to knead it by hand immediately? Even at a manageable hydration level, the dough can be quite sticky.
When you bake next time, bring the ingredients into a rough dough. Cover the bowl and leave it at room temperature for 15-20 minutes. Now try kneading the dough. You’ll find that the flour has been hydrated by the water and the dough is easier and more pleasurable to handle.
If you enjoyed this blog and would like to support ongoing content creation and help keep the website ad-free, you can click below to make a contribution.
As an Amazon Affiliate, I may earn a commission from qualifying purchases
Watch my tutorial on how to test flour and hydration.
FAQs
What should I do if my sourdough or bread dough is too sticky?
Unless the dough is completely unmanageable I would try to finish the bake without trying to adjust the ingredients. Assess the results at the end, make detailed notes and outline an adjusted recipe for the next bake.
If your dough is too sticky and it's impossible to work with you can add some extra flour, just a little at a time. Make sure you weigh the extra flour you add and then you'll be able to adjust the recipe correctly the next time you bake.
To avoid this situation see my advice above on working out the right flour to use and what hydration works best for you.
Will my sticky sourdough or bread dough still rise?
The sticky dough can still rise or spring in the oven.
The big question is whether the dough has enough strength to trap the gas and stop the dough from collapsing during proofing or when you bake.
Make sure you choose high-protein flour to give strength to your dough. You can read more on this topic above.
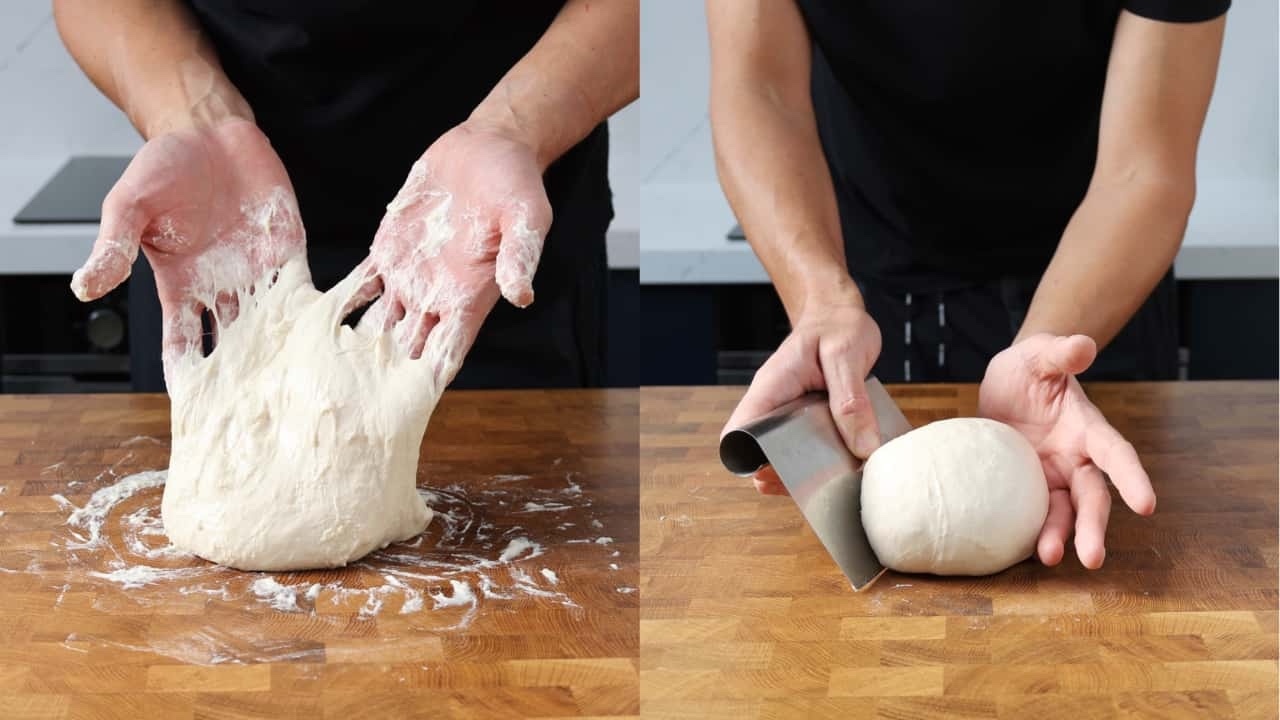
How do I knead sticky sourdough or bread dough?
The most tempting thing to do is cover your bench in flour, or possibly water or oil. At the kneading stage, I would avoid doing this. Get used to the stickiness and use it to your advantage. The contact between your hands and the dough sticking to the bench helps with kneading.
As you are kneading you can use a bench scraper yo bring the dough back together and clean up any bits that have become detached from the main dough mass.
You can also use a technique where you slap the dough down on the work surface and stretch the dough over itself. Pick it up, and repeat.
What causes sticky sourdough or bread dough?
Overly sticky dough is normally caused by a combination of using the wrong flour and using too much water.
I discuss these points in more detail above but in short: choose a flour that's produced for bread baking. These are normally labelled “Bread” or “Strong” flour. Make sure that it’s got a protein content higher than 12%.
Try to use a hydration level between 65-70%. In the video above I show you how to test your flour and hydration before baking.
How do I shape sticky sourdough or bread dough?
You will need to use a little flour on your worktop to stop the dough from sticking too much. But there is a fine balance, use too much and you won’t be able to get the dough to stick to itself while shaping.
I would suggest starting with a very light sprinkle and only adding more if you need to.
A bench scraper helps with shaping your dough.