A Simple Rustic Multiseed Sourdough Recipe

If you are looking for a sourdough recipe with real depth of flavour and textural interest then this is the one for you.
With no pre-soak required for the seeds and incorporating them during the initial mixing stage, this recipe is super straightforward to make.
Strong white bread flour makes up the main flour component and I use a small amount of rye flour to add a malty flavour that works perfectly with the seeds. You can substitute whole-wheat flour for the rye.
You can watch me making the full recipe in the video at the bottom of this page. Which you can jump to by clicking here.
Milling my flour
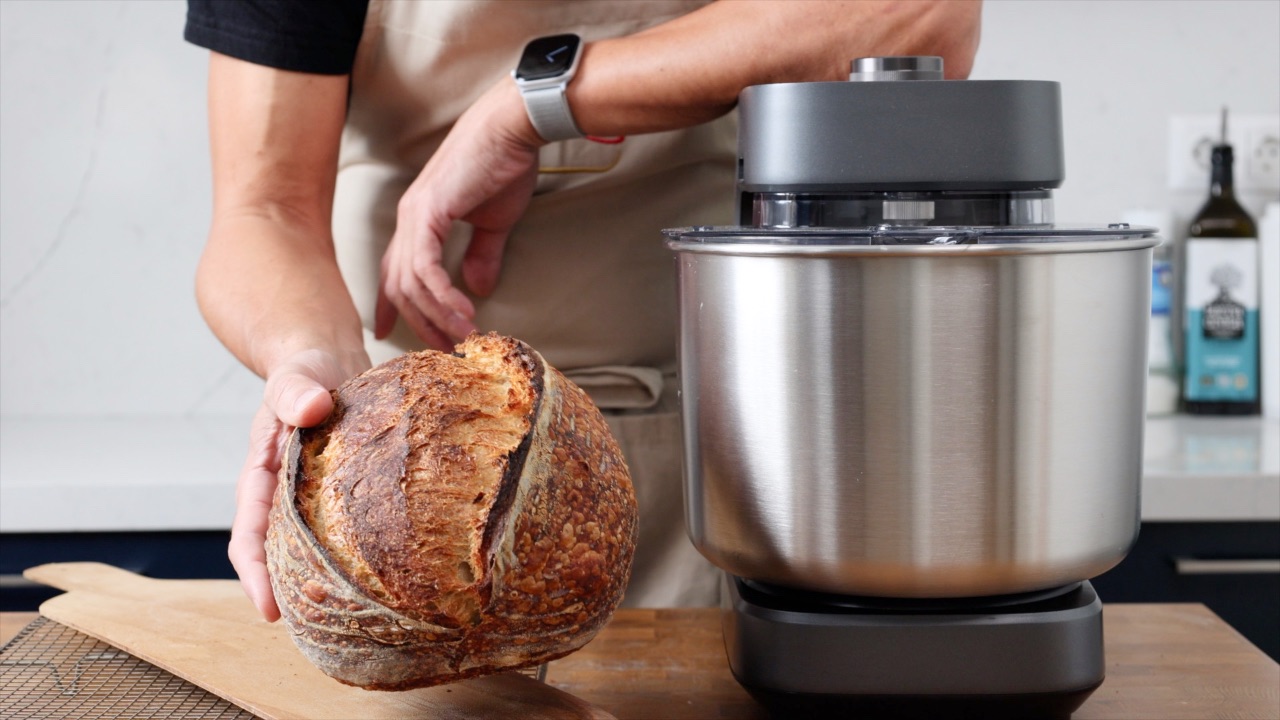
I use a grain mill to grind my flour in this recipe. Of course, store-bought flour will work perfectly.
I’m right at the beginning of my milling journey but already notice the difference when using home-milled flour. My loaves have more depth of flavour. I like having more choice over the grain I’m choosing to mill my flour.
With that being said I have found it tricky to source grains here in Greece. I think it’s because grains aren't so readily available on shop shelves. As I research and find good suppliers I will be listing them on a resources page to help people find good suppliers.
When I’m milling the flour for my sourdough I feel like I’m removing the industrial manufacturer element from my bread-making process.
I am using the Komo Fidibus Classic grain mill which you can view on the Komo website. If you are interested in buying a mill you can use the code below for a 5% discount.
5% discount code: 0ppesci5
You can view the Komo grain mill on the Komo website by clicking here
I am just beginning my journey learning how to mill flour at home. I’ll be sharing my experiences, successes and frustrations through my community email.
You can follow along by clicking here and joining the community
Which seeds to use
In this recipe, I am using nigella seeds, golden and brown flaxseeds, sesame seeds, sunflower and pumpkin seeds. You can use whatever seeds you enjoy eating or whatever you have to hand.
I like to chop the pumpkin and sunflower seeds so that everything is roughly the same size. This isn’t necessary but my personal preference.
In this recipe, I don’t soak the seeds before adding them to the dough. But I do increase the hydration of the dough slightly to balance the inclusion of the seeds. This method makes for a simple process that produces a great loaf of sourdough.
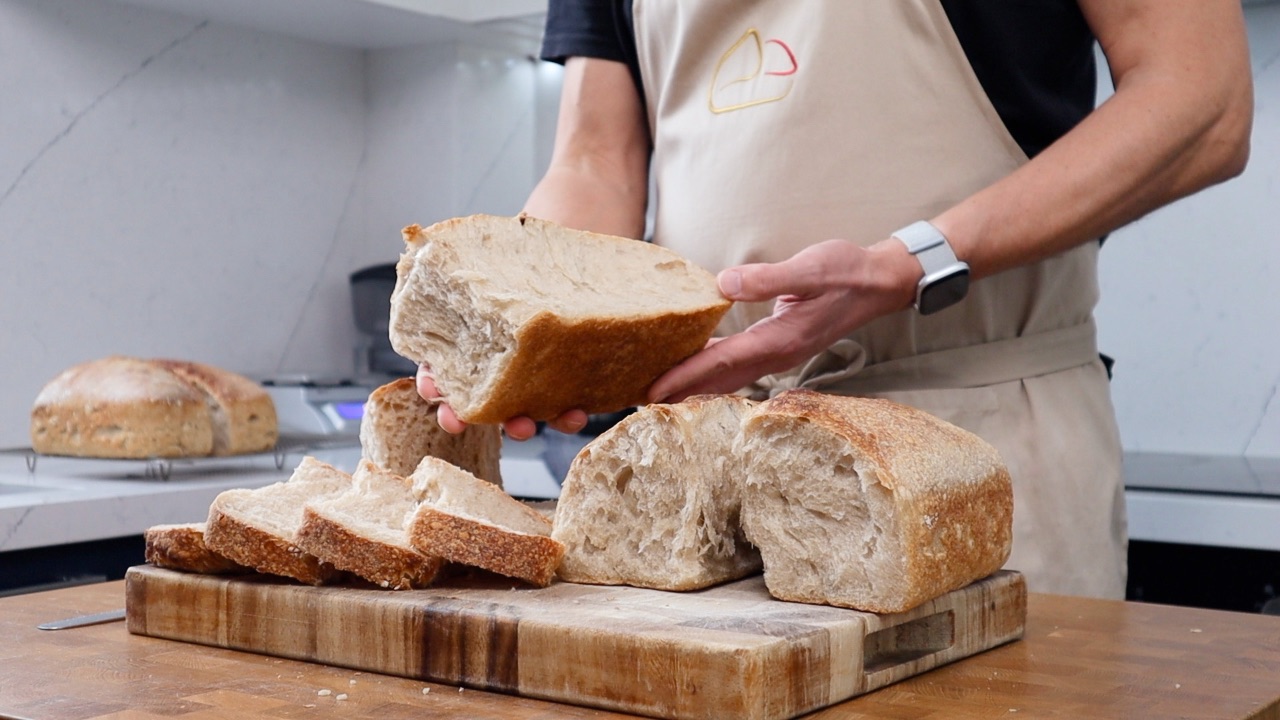
After shaping and before the final proof I roll the dough in the seed mix. This produces an amazing texture on the crust once the loaf has been baked. Just remember that the seeds on the outside will toast during baking so be careful not to overbake.
Multiseed Sourdough Recipe
My kitchen temperature: 18c / 64f
Oven temperature: 220c / 430f
Oven setting: Conventional bake mode (top & bottom heat with the fan turned off) with a baking stone pre-heated
Bake time: 40 minutes (first 20 minutes covered with a pot)
Ingredients
318g Strong white bread flour
55g Rye flour
270g water
97g Sourdough starter
9g Salt
55g Mixed seeds
Method
1. Use digital scales that measure in grams. In a mixing bowl combine the water and sourdough starter. Make sure the starter has recently been fed, has fermented and is nice and active. Briefly stir the starter into the water to break it down a little, you don’t need to worry about dissolving it completely as the starter will break down through the fermentation process.
2. Add the sea salt and briefly stir the mixture again.
3. Add the strong white bread flour, rye flour and seeds to the bowl. Bring everything together with a spoon and then finish mixing with your hand. The dough doesn’t need to be smooth but make sure the ingredients are well incorporated and there are no dry spots of flour.
4. Cover and leave the bowl at room temperature for 30 minutes.
5. After 30 minutes remove the dough from the bowl with a bowl scraper. This is the first of three sets of stretching. You can do this on the bench as I do in the video or the bowl. Don’t panic if the dough tears on this first session. I cover this in the video below.
Ball the dough up using a bench scraper, place it in the bowl and cover it again for 45 minutes.
6. Repeat the stretching one more time. Cover and rest for another 45 minutes. Repeat one more stretch and fold. You should have completed three sessions of stretching and folding at this point. Cover the dough and leave it to bulk proof.
My dough took 5 hours to bulk proof. The time your process takes will be dependent on your temperature and other variables.
7. After the bulk proof turn the dough out onto the work surface. You can use a touch of water if your dough is a little sticky.
Shape the dough to fit your banneton. I like to use an oval banneton which is perfect for this amount of dough. You can see how I do this in the video below.
8. Roll the smooth side and the ends of the dough in the seed mixture. Place the dough in the banneton with the seam of the dough facing upwards. You don’t need to flour your banneton as the seeds will act as a barrier stopping the dough from sticking to the banneton.
9. Leave the basket of dough on the work surface for about an hour before placing it in the fridge to finish proofing overnight.
NOTE: I am experimenting with leaving my dough uncovered in the fridge and until now I’ve had great results. I’ll be releasing a video comparing covered vs uncovered proofs soon. You can cover your dough if you prefer.
10. The next day I pre-heat my oven and baking stone to 220c or 430f. I turn the dough out onto a bread peel and score the dough with a razor blade, although I’d suggest using a bread lame.
Slide the dough onto the baking stone and cover with a large pot. Bake for the first 20 minutes covered and then remove the pot for the final 20 minutes of baking.
Instead of using a baking stone and pot to cover the dough. You can use a challenger pan or a dutch oven.
Leave the loaf to cool and enjoy. This is a great loaf for doorstep cheese and pickle sandwiches, which goes great with a pint of local beer ;)
If you enjoyed this blog and would like to support ongoing content creation and help keep the website ad-free, you can click below to make a contribution.
As an Amazon Affiliate, I may earn a commission from qualifying purchases
Watch me make the multiseed sourdough bread
As an Amazon Associate, I earn from qualifying purchases.