The Easiest Way to Bake 6 Sourdough Loaves at Once
Bake six sourdough loaves at once, without steam, Dutch ovens, or baking one loaf at a time.
This method uses a simple tray setup where each piece of dough supports the next, making the whole process far more forgiving and consistent.
It’s inspired by a traditional monastery sourdough here in Greece and allows you to scale your baking with confidence while still producing a rustic, well-developed loaf.
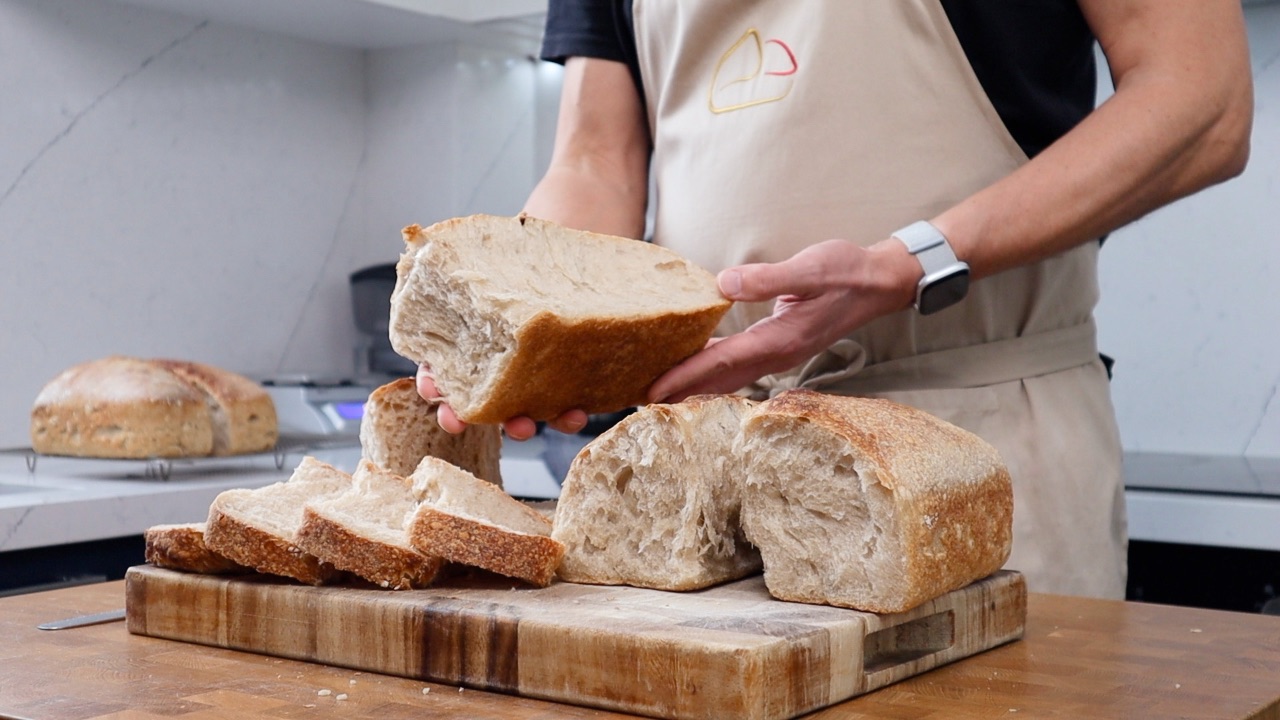
It also works especially well with softer flour blends, helping the dough hold its shape while producing a light, everyday sandwich loaf that’s perfect for sharing with family and friends.
If you’ve ever struggled to get consistent results from one bake to the next, this method removes a lot of that guesswork.
Quick Navigation:
- Tell me more about this recipe
- What equipment do I need?
- How long does it take to bake?
- Show me the recipe
- Watch the video
- Give me your free recipe calculator
Recipe Vitals and Formula
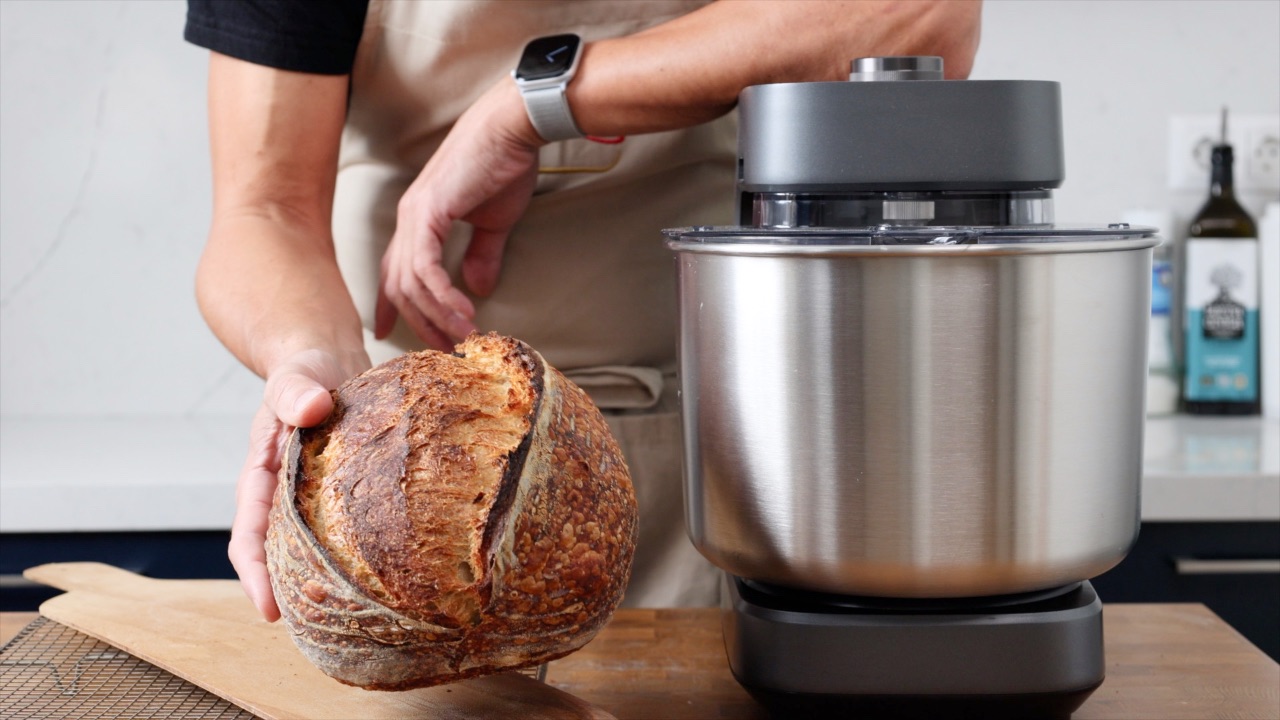
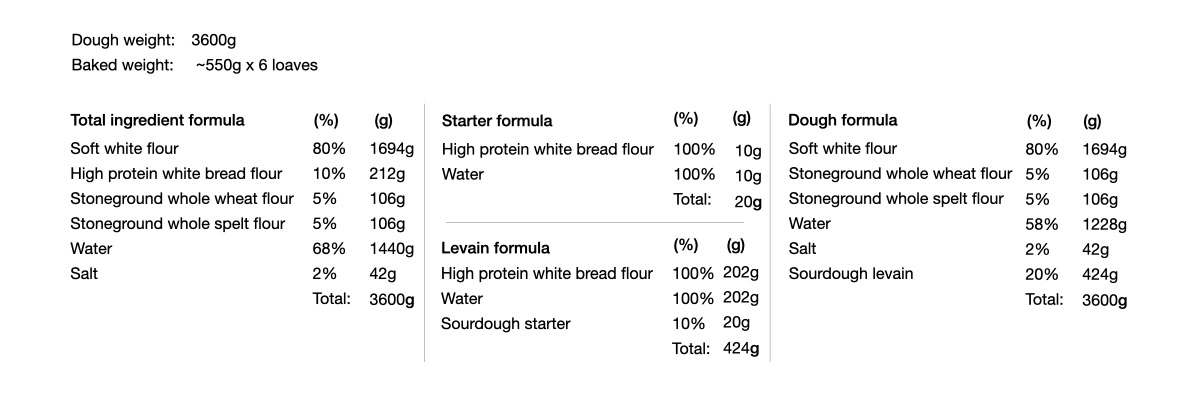
This recipe produces approximately 3.6 kg of dough, divided into six pieces and baked together in a tray. Each loaf finishes at around five hundred and fifty grams after baking.
The dough is 68% hydrated, making it easy to handle and more manageable thanks to the way the loaves support each other during proofing and baking.
The levain is used at 20% inoculation, providing steady, controlled fermentation and a balanced flavour profile without excessive acidity.
The flour blend is a combination of strong white bread flour (used in the levain), soft white flour, whole wheat flour, and spelt. This creates a well-rounded loaf with good structure, a soft crumb, and a more complex flavour than using white flour alone.
The inclusion of whole wheat and spelt adds depth and character, while the softer white flour keeps the texture light and accessible. This makes it a great all-round loaf for everyday use.
Baking the dough pieces together in a tray allows you to use softer flour blends without losing structure, as each loaf supports the next throughout fermentation and baking.
If you want to scale this recipe or adjust it to suit your setup, you can use Magnus 2, my free sourdough calculator. It takes care of all the percentages and keeps everything balanced.
Equipment
You don’t need much to make this work, but having a few reliable tools will make the process easier and more consistent.
A good set of digital scales is essential for accuracy. I use the My Weigh KD8000, which is stable, precise, and well-suited to larger dough batches.
You’ll need a large mixing bowl to bring the dough together and leave it to rest. I simply cover mine with a lid or a reusable plastic bag to prevent the dough from drying out during fermentation.
For this method, a baking tray is key. I use a 40 cm × 30 cm × 7 cm tray (approximately 15.7 × 11.8 × 2.75 inches). The size allows the dough pieces to sit snugly together, supporting each other as they proof and bake.
I use the Ooni Halo Pro spiral mixer for larger batches like this. It keeps the mix consistent and takes the effort out of handling bigger doughs, but this recipe can absolutely be mixed by hand if you’re working with smaller quantities.
If you’d like to see the full list of equipment I use across all of my sourdough baking, you can check out my baking kit here
Timeline
Here is the timeline for the baking process.
My fermentation temperature was 25°C / 77°F. If your kitchen is warmer, the process will move faster, and if it’s cooler, it will take longer.
Use this timeline as a guide, but always pay attention to how your starter/dough is fermenting and proofing, and adjust as needed.
Day 1
22:00 — Mix the levain
Day 2
09:00 — Mix the dough using the Halo Pro
09:30 — Final machine mix
10:30 — Coil fold
11:30 — Coil fold
12:30 — Coil fold
15:00 — Pre-shape (around 75% volume increase)
15:15 — Shape and begin ambient proof
17:15 — Place into fridge for cold retard
Day 3
09:00 — Bake
10:00 — Leave to cool
Hands-on time: 60–80 minutes
Total timeline: ~36 hours
The Recipe
The levain
210g high-protein white bread flour
210g water
21g sourdough starter
Method:
1. Add the flour, water, and sourdough starter to a jar and mix thoroughly. (The jar should have enough headroom for the starter to quadruple in size.)
2. Cover with a lid and leave to ferment overnight.
Baker's tip: We make slightly more levain than needed for the recipe to account for weight loss during fermentation, wastage, and to leave enough left over to seed our next levain. This build uses a low inoculation to keep acidity in check and support a balanced fermentation, and helps with scheduling.
The dough
1694g soft white flour
106g whole wheat flour
106g spelt flour
1228g water
42g salt
424g active levain
Baker's Note: I use my Ooni Halo Pro mixer for doughs over 1000g. You can mix this by hand. You follow the same process, but instead of mechanically mixing, you'll mix the dough with your hands.
Method:
1. Remove the bowl from the Halo Pro and place it on your scales. Add the water and salt to the bowl, making sure the salt is well dissolved.
2. Place the bowl back on the Halo Pro and turn the power dial to 30%.
3. Add half the flour blend to the mixing bowl, followed by the levain. Mix for a minute or two until the levain is well dispersed.
4. Add the rest of the flour blend and mix on 30% for a couple of minutes until a rough dough is formed. It doesn’t need to be smooth at this stage. The goal is to make sure all of the ingredients are well combined.
5. Without removing the bowl, place the cover over the dough and leave it to rest for 30 minutes.
6. After the rest, turn the power dial back to 30% and mix for approximately two minutes. The dough should form a pumpkin pattern on the surface and come away cleanly from the bowl. The goal here is not to develop gluten, but to ensure the dough is properly mixed.
7. Remove the dough from the mixer and shape it gently into a ball. Place it into a bulk container.
8. Leave the dough to bulk ferment until it has increased in volume by 75%. During this time, give the dough three sets of coil folds, spaced approximately an hour apart.
Baker’s Tip: If you’ve ever struggled to know when your dough is ready, I break this down step by step using volume tracking here.
Most bakers aren’t under- or over-fermenting randomly; they’re just working without a clear way to measure what’s happening in the dough. Once you can see fermentation clearly, everything else becomes far more predictable.
9. Once bulk fermentation is complete, divide the dough into six equal pieces. Shape each piece into a loose dough ball and leave to rest, uncovered, for 15 minutes on the bench.
10. Shape each piece of dough as you would for a batard. Fold the top and bottom inwards, rotate the dough ninety degrees, fold again, then roll it up and seal at the end. Roll lightly in rice flour and place into a non-stick baking tray with the seam facing downwards.
Repeat with all six pieces, spacing them evenly in the tray so they sit snugly without touching too tightly.
Baker's Note: You can check out the video below to see the exact process.
11. Cover the dough with a large plastic bag and leave it to proof at ambient temperature until sufficiently proofed. Then place it into the fridge to cold retard until bake time.
12. Preheat your oven to 220°C / 428°F with a baking stone or baking steel in place.
Slide the baking tray onto the stone or steel. Place an upturned baking tray on a shelf between the top of the baking tray and the heating elements to protect the dough during the first 20 minutes of the bake. Remove the tray and continue baking for a further 40 minutes, or until the crust is fully developed.
Total bake time is approximately 1 hour. If baking directly on the oven shelf, you may need to increase the bake time slightly to achieve the desired crust.
Leave to cool fully before tearing the loaves apart.
Baker’s Tip: Using a baking stone or baking steel adds thermal mass, helping transfer heat into the dough more efficiently and reducing temperature drop when loading the oven.
You can also check that the loaves are fully baked using a thermometer. I use a Thermapen to check the core temperature, aiming for 97°C / 207°F.
You can find everything I use, including the thermometer, in my baking kit here.